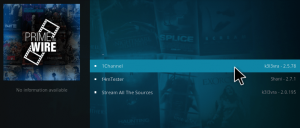
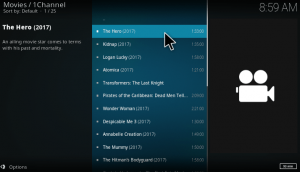
In this post, we shall see How to install Primewire 1Channel kodi addon. In addition to this, we shall see the issues prevailing with this primewire 1channel kodi addon and learn how to fix them. Primewire is the largest repository for movies and Tv shows. We can access them with the Primewire 1Channel kodi addon. The development of this 3rd party Kodi addon has recently been taken over by k3l3vra since TV Addons abandoned this project earlier this year. The 1Channel kodi addon provides multiple filters from which you can sort various movies and TV shows. You can access the movies from the oldest to the latest released here. The installation procedure requires downloading the repo file and then installing addon from that file.
How to install Primewire 1Channel kodi addon
Initially, download the k3l3vra repository file from here.
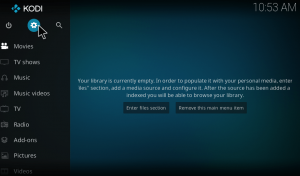
1.Open the Kodi app. As soon as you open the Kodi, you could see the desktop as given below.
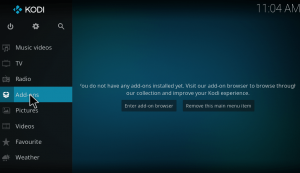
2. On the home screen, you can find the menu column on the left. Click on add-ons in the menu.
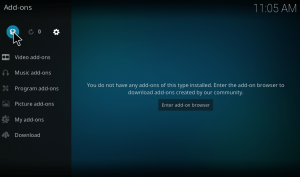
3. Now on the top left corner, you can find a Package installer icon which looks like unzipper, just click on it.
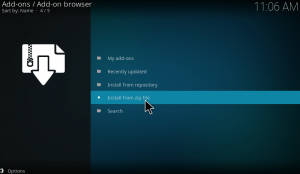
4. Then on the next screen press Install from zip file to install the k3l3vra repository file.
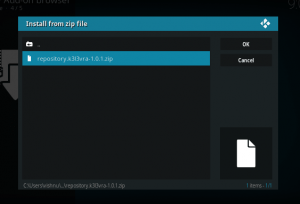
5. You have to navigate to the download folder where you have downloaded the files. You can find repository.k3l3vra-1.0.1.zip in your download folder. Double tap on it.
6. Now a pop-up will appear in the top right corner, once the zip file is installed. That’s about the installation of k3l3vra Repository. Let’s see how to install the primewire 1 channel kodi addon.
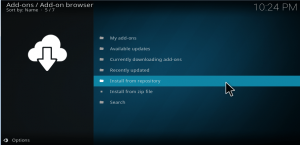
7. Open k3l3vra repo by clicking on install from repository.
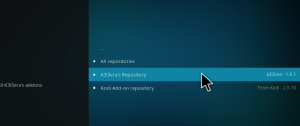
8. Here you have to select k3l3vra Repository.
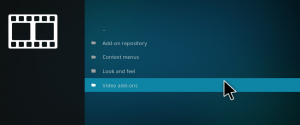
9. You would see three options like context menu, look and feel and video addons. Click on Video addons to install The Primewire 1channel kodi addon.
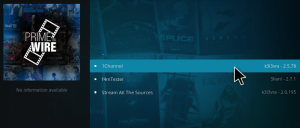
10. the next screen, you can see the add-ons available with this repository. You can see 1channel kodi addon.
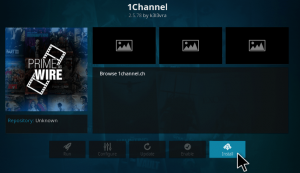
11. It will take you to the add-on information page. Here you can find the install button at the bottom of the screen. Just tap on it to start the installation procedure. Once you click on it, the download will starts. It will take a few seconds to download the required files and for the process of installation.
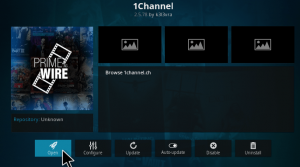
12. Once it is installed, you will get a notification that the add-on is installed and ready to use. Then click on The 1channel Kodi addon again. Now you can find the open button at the left bottom corner of the screen. Just click on it to open the addon.
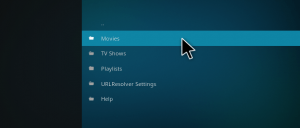
13. When you open the addon, you can see several categories like Movies, Tv shows, Playlists, URL resolver settings and Help. Let us see what are available in the movies.
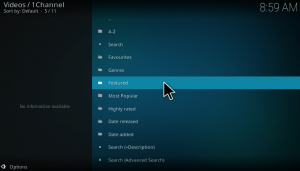
14. Under movies, you can see various subcategories like favorites, genres, most popular, highly rated, featured, search and much more. Under movies, you can see various subcategories like favorites, genres, most popular, highly rated, featured, search and much more.
15. Let us see, what are available in the featured section. You cannot find any result here. This is because the earlier Primewire site stored default in the addon is blocked by your ISP. Let us see how can we fix this issue and unblock the Primewire 1channel addon.
How to fix – Primewire site blocked Kodi issue
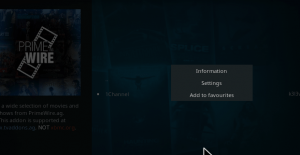
First of all, go to Video addons page. Place your cursor on 1channel addon and right click on it. You can see three options like Information, Settings and Add to favorites. Just click on Settings and proceed.
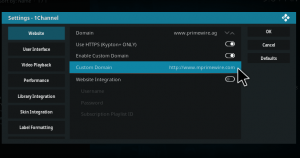
Now the settings window will pop up. Under the Websites, execute the following:
- Turn on Use HTTPS ( Krypton + only).
- Turn on Enable Custom Domain.
- Click on the Custom domain and enter http://www.mprimewire.com
- Click OK.
Now open 1Channel addon again. Navigate to the movies section.
Now you can see the movies available in the Featured section and in all other subcategories. Hope this fix works for you.
I hope the installation procedure and fix are very clear. Try installing and fix the issues with this guide. I hope it works for you all. That’s all about Primewire 1Channel kodi addon installation. Hope you enjoyed the article.

