
Contents
Free Streams Addon
Free stream addon is a great TV add-on for live TV with a lot of channels from Xfinity source. Free stream addon has good sources for both TV and movies. It contains several top quality streams that we will like. If we want to have multiple movie add-ons, we should check this free streams addon and add it to our list. It is supported by the Xfinity team. The contents of free stream addon are mostly in English channels with excellent quality. It is one of the nice add-ons we can use it for entertaining yourself and your family.
Free IPTV for Kodi
IPTV, simply called as Internet Protocol Television allows us to receive TV broadcast signals through our internet connection. Instead of connecting to a TV antenna, satellite dish or fiber optic cable. It is the TV technology for next generation. In the future, traditional cable TV providers will be replaced by IPTV providers. This article is going to help you to get things like how to install free streams addon for Kodi and their issues.
How to install free streams addon for Kodi?
Here we are going to show free streams Kodi add-on download and installation processes of free streams for Kodi which is one of the best live TV and streaming add-on designed for Kodi or XMBC.
STEP 1: The first step should be started from the home screen of Kodi. The main page of Kodi, you can see many tabs which include videos, movies, programs, music, and more. In these tabs, go to “SYSTEM” and click it. 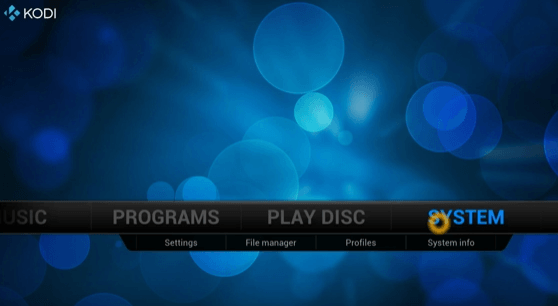
STEP 2: Under the system, we have subtitles such as settings, file manager, profiles, and system info. But we need to select” FILE MANAGER.” 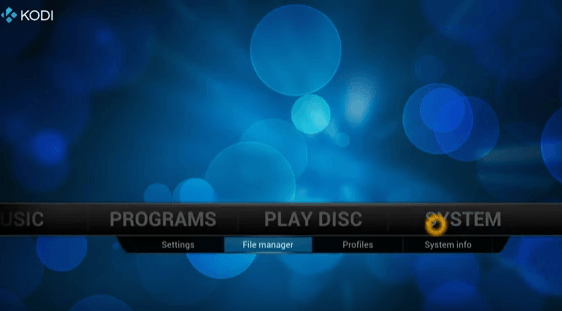
STEP 3: After the file manager got opened, you have to go to the option called “ADD SOURCE” and click on it. 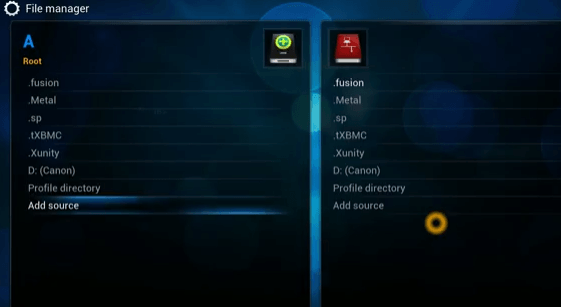
STEP 4: After you click the Add source, the dialog box called Add Files Source will get open. Just click the default content “NONE” at the top left corner of Add source files box. Immediately another dialog box will open and ask us to “Enter the paths or browse for the media locations.” 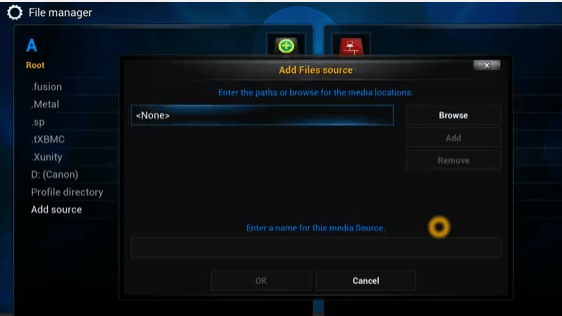
STEP 5: We need to type the following exactly in the space provided http://xfinity.xunitytlk.com under Entering the paths or browse for the media locations. Once we type the URL, we should click “DONE” to get processed. 
STEP 6: Once you click on the space provided under “Enter a name for that media source” it provides a virtual keyboard for typing media source file. We can give the name as per your wish. Here we give “.xfinity” and click “OK.”
STEP 7: Select the media source file name “.xfinity” from the list of files. 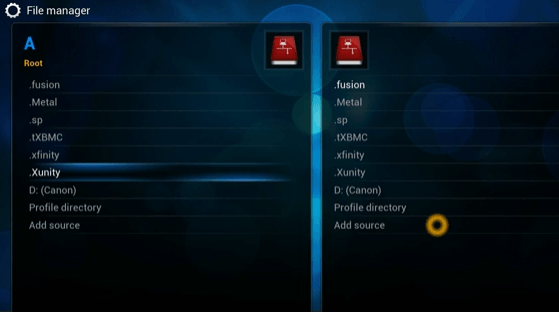
STEP 8: Go back to the homepage of Kodi. Again we have to select the main title “SYSTEM.” 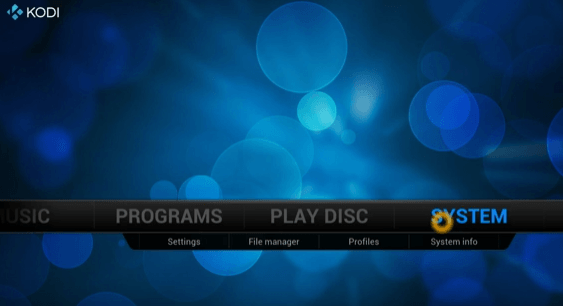
STEP 9: Below the SYSTEM, there are subtitles comprise of settings, file manager, profiles, and system info.This time we should select “SETTINGS” subtitle. 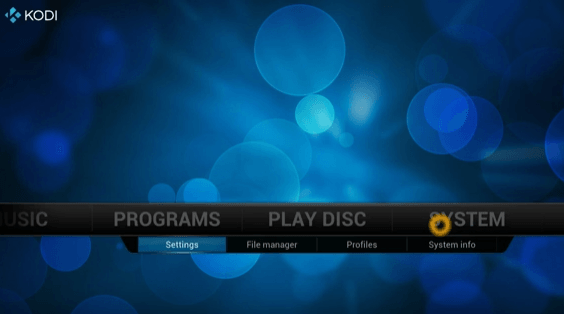
STEP 10: In the SETTINGS, we have a dialog box called “Change your settings.” There will be many options like video, Live TV, music, pictures, weather, Add-ons, services, and system. Click “ADD-ONS” button. 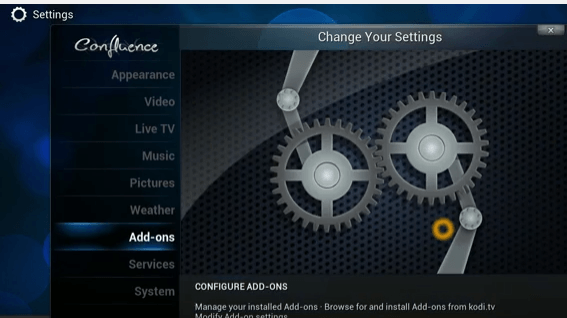
STEP 11: ADD-ONS window will open. There are various options include disabled add-ons, enabled add-ons, get add-ons, install from zip file. Select “INSTALL FROM ZIP FILE” at the left side. In the right side, we can see a book like structure called zip files. 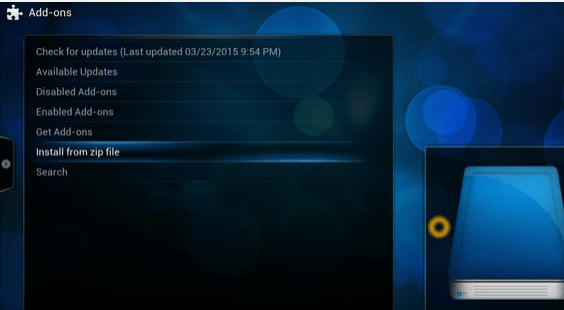
STEP 12: We double click the zip file, “.xfinity,” the media source file name which we have given in the add source files column. Other than that many folders are available. Click that particular zip file. 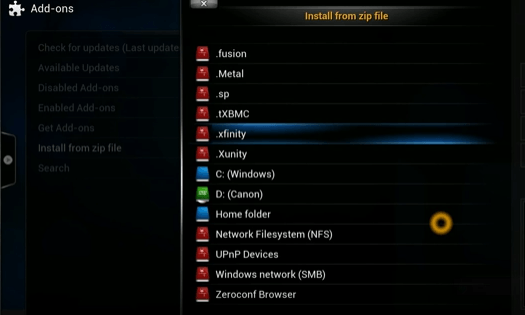
STEP 13: After you click that particular zip file, there is a list of folders available such as add-ons, modules, repositories, skins, istream installer. Select the “xunitytalk_repository.zip” file. Since it is a zip file, it differs from other folders. 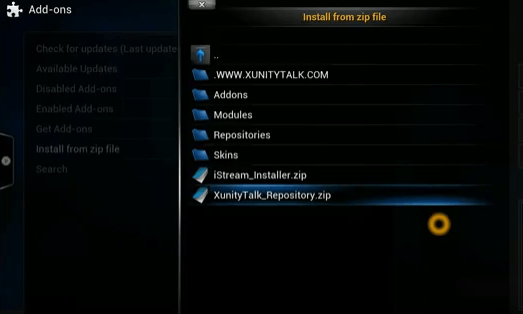
STEP 14: From the repository zip file, select “GET ADD-ONS” from the list such as available updates, install from zip file, enable/disable add-ons. 
STEP 15: Here we can see that the repository file got enabled on the left side of the window. In the right side, .xunitytalk repository icon is displayed with details such as author, version, and more. 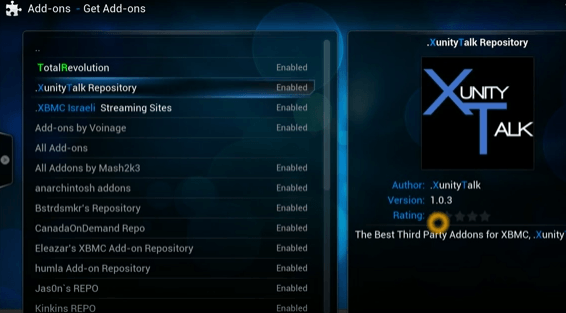
STEP 16: In the particular .xfinitytalk repository, select “VIDEO ADD-ON.” Since we are looking for live TV shows and movies, we got selected video add-on.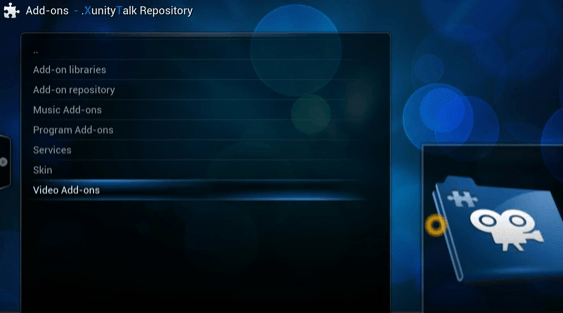
STEP 17: There is an array of video add-ons. From the video add-ons list, select and click “Free streams” add-on which is the one we are seeking. Click it to enable.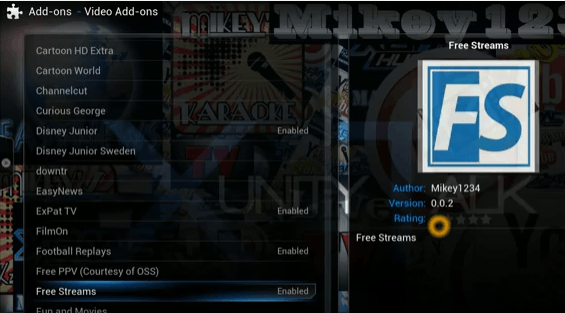
STEP 18: Once you enable the free streams add-on, it will display its add-on information like type, version, author, description. You can have a look at the details. There are options called uninstall, disable, configure, and launch. Just click “LAUNCH” for the add-on to get installed. If you face any problem in the middle of the installation process, go back to Kodi main page, refresh the page, and follow the steps correctly. 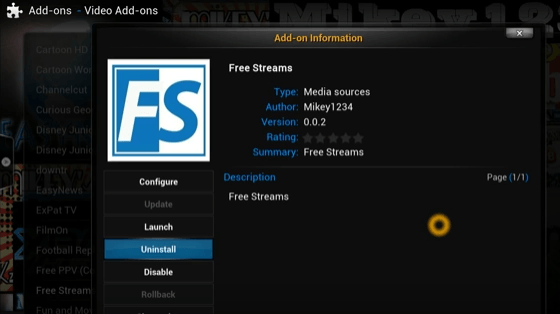
STEP 19: Go to the main page of Kodi and select the main title “VIDEOS.” It is the normal process to be followed in each Kodi add-on or build installation. 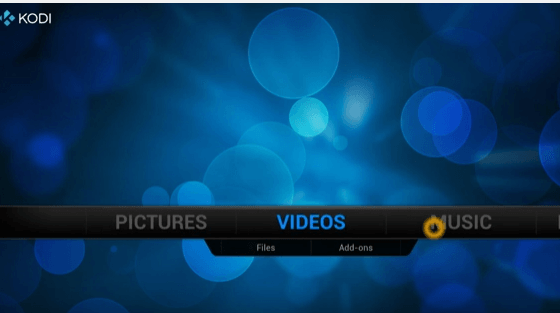
STEP 20: From the main title videos, choose the subtitle “ADD-ONS.” 
STEP 21: There will be a collection of video add-ons. Scroll and select “Free streams” video add-on. 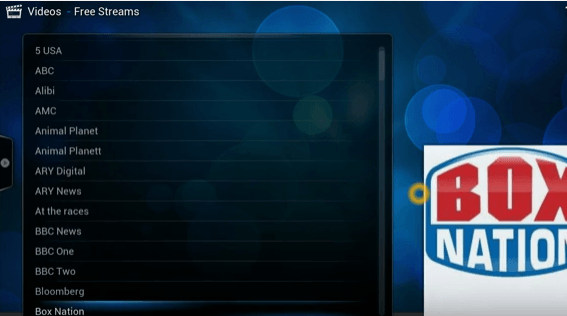
STEP 22: Now the installation process got over. You can choose any TV shows or movies and enjoy watching it. 
Free streams kodi not working issues
If you are getting any error or Kodi not working, simply follow the steps. Because it happens when you start working on Kodi add-ons.
CASE 1: (If already have maintenance tool)
Run the maintenance tool add-on. For that go to PROGRAMSàMaintenance toolàRun itàGeneral maintenanceàClear cacheàDelete cache filesàPurge packagesàDelete package cache files.
CASE 2: (If do not have maintenance tool)
Go to PROGRAMSàAdd-onsàAddon installer àSearch addonàType MaintenanceàDoneàMaintenance tool àClick. And follow case 1 steps to fix the problems.
Solutions to fix the problem
- Clear cache and purge packages.
- Use VPN Security tool.
If you face any other issues then please drop a comment. We will be happy to help you fix the issues 🙂

