
In this article, we are going to about increasing cache on Kodi. A cache is a hardware or software component, and it is a high-speed access area of main memory or storage device reserved section. Memory Cache and Disk Cache are the two types of cache. So in Kodi, while watching streaming videos and if your video affected by buffering problem, then it’s because of the cache storage reason. So, we increase the cache to improve your Kodi performance. Read the article thoroughly and gain information about “How to increase cache on kodi?” Let’s get into the topic.
Read: How to stop buffering on kodi?
How to increase cache on kodi?
Here, we are going to discuss how to increase your cache in your Kodi application. Listen to the below instructions and solve your problem.
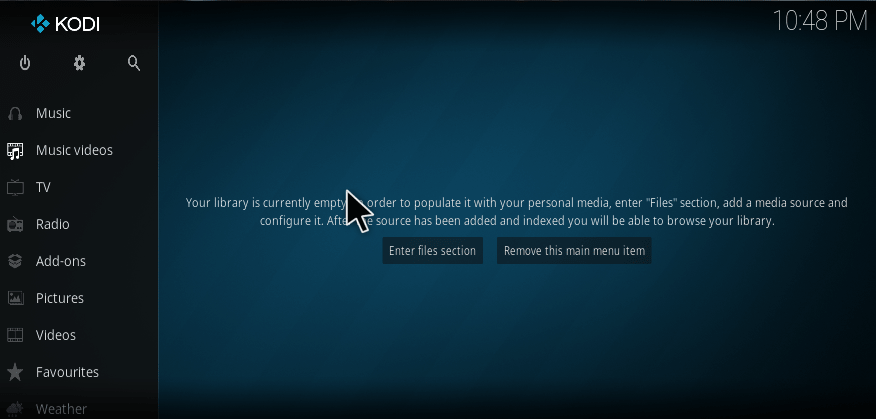
1. Launch your Kodi application from your device.
2. Select the Gear symbol which is on the top left of your Main Menu.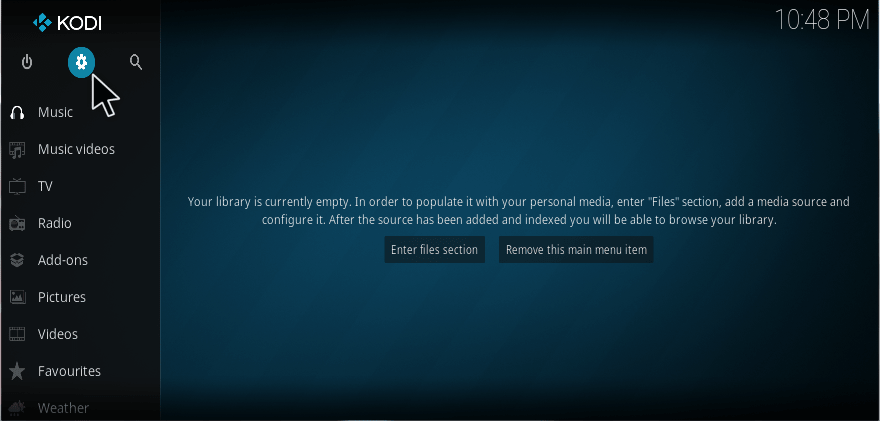
3. Then select File Manager settings from the category of settings.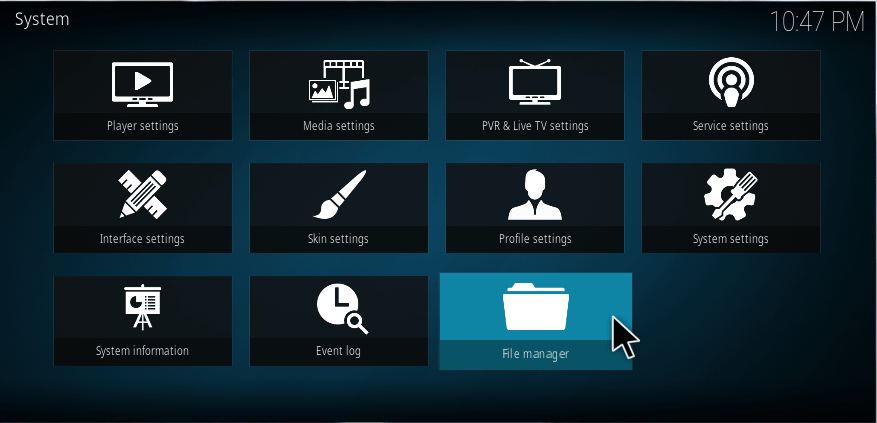
4. Double click on Add Source.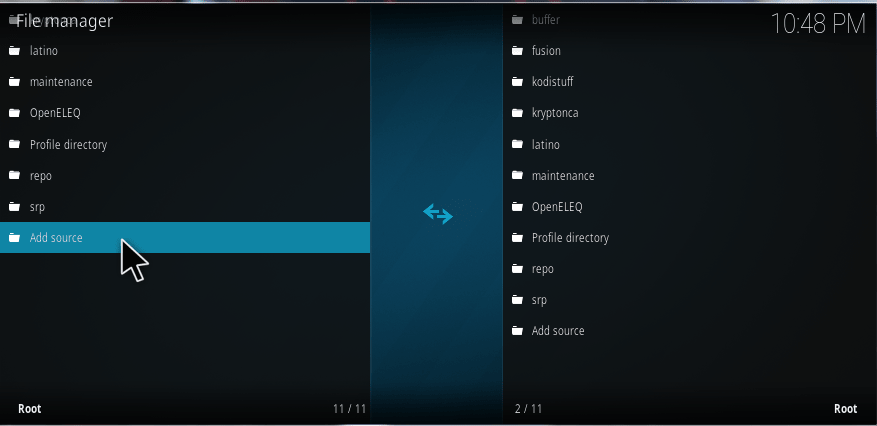
5. Click on <none> to add path address on your Kodi. 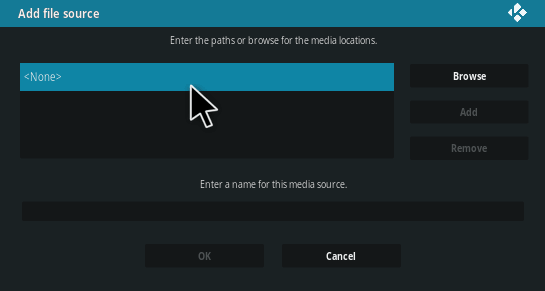
6. Then type http://lbtechtips.com/krypton and click OK.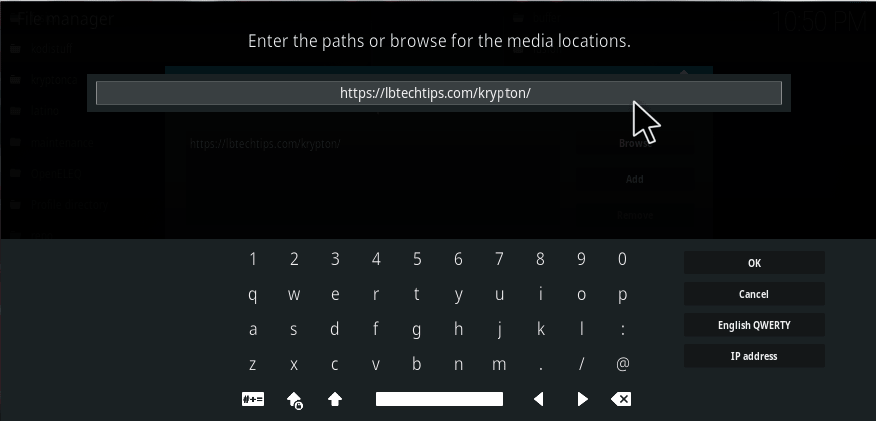
7. Then, give any name for your route address and Click OK.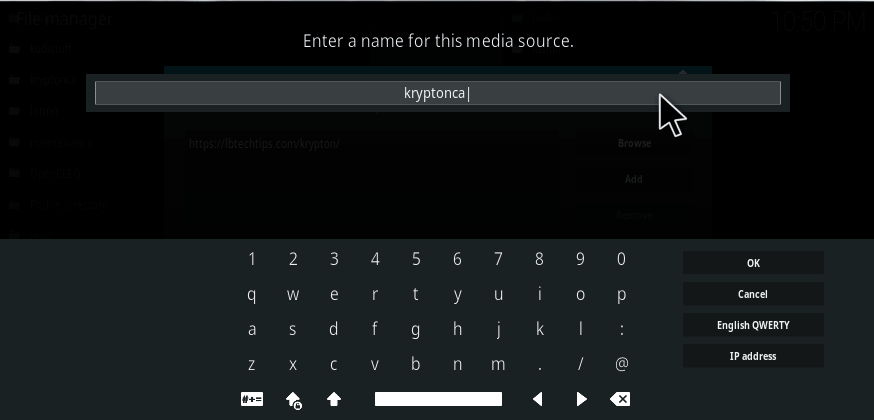
8. Now, go back to your homepage and select Add-Ons.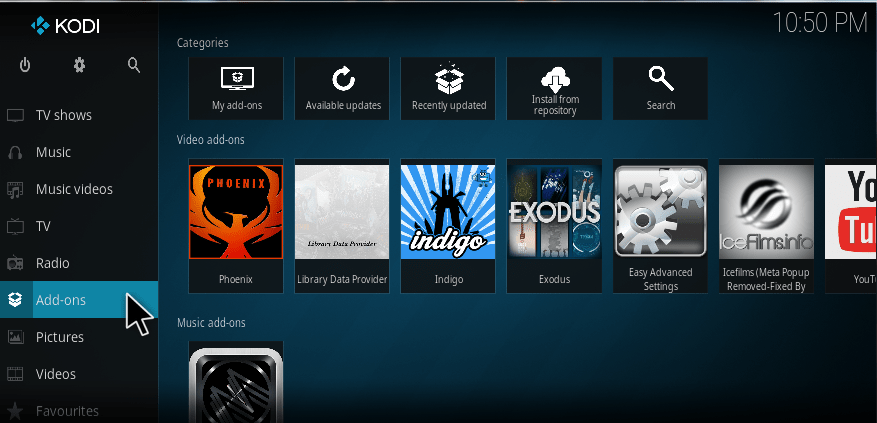
9. Select Add-On browser from the left corner.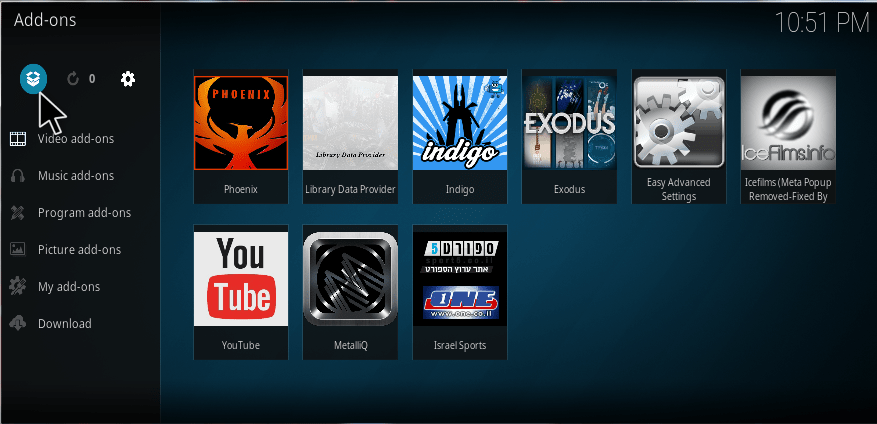
10. Then, Select install from zip file.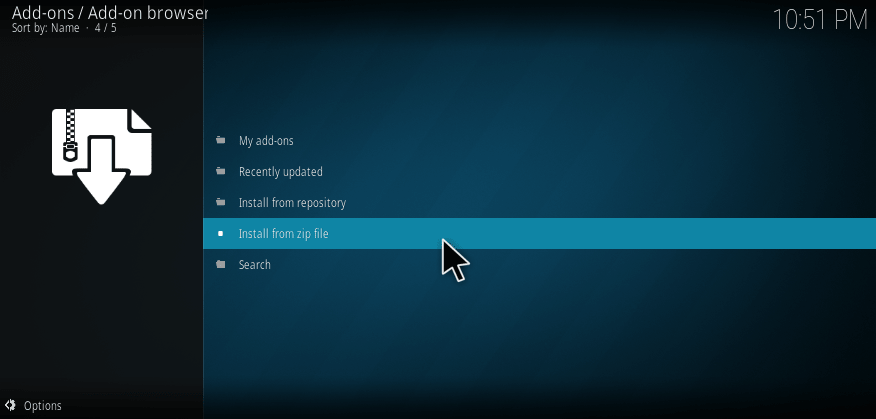
11. Choose the name which you gave earlier.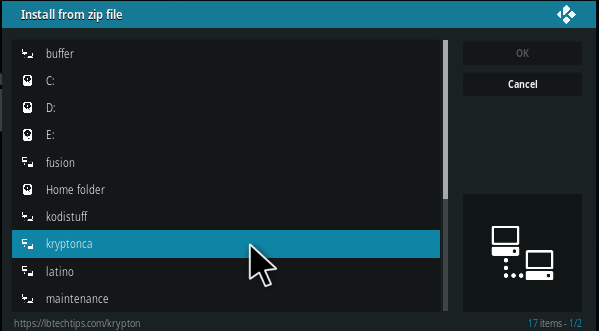
12. Choose the repository zip file.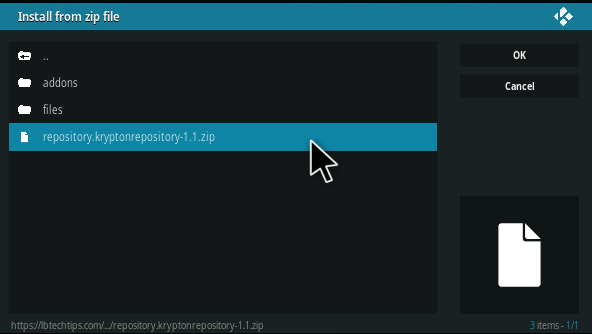
13. Now, select install from repository.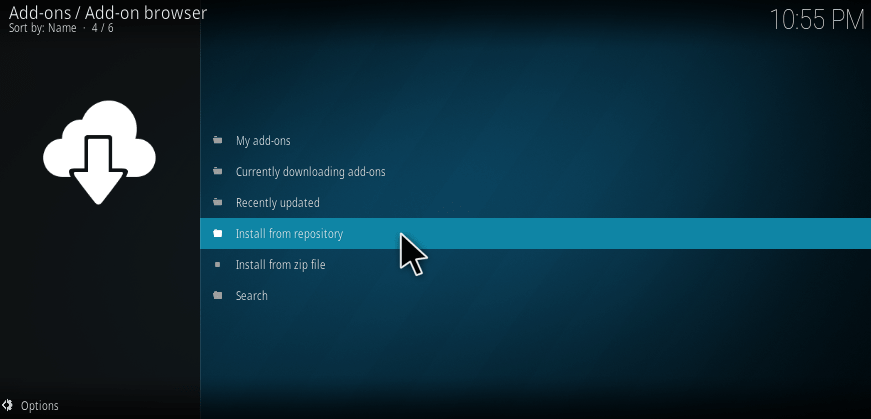
14. Scroll down and select Krypton Repository.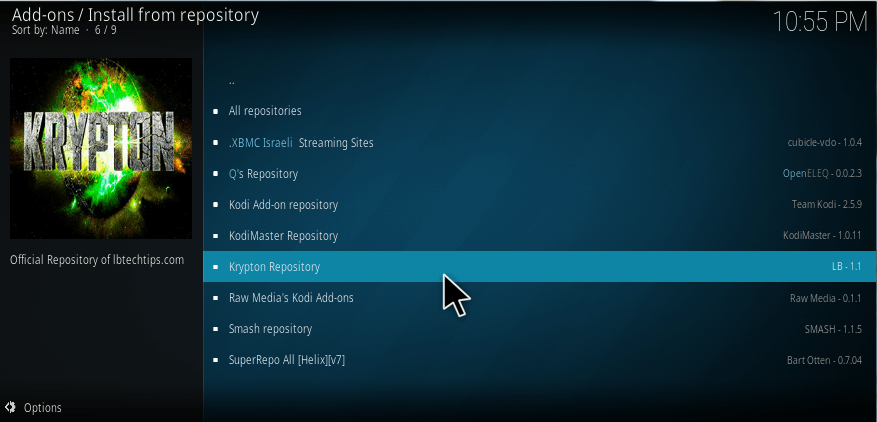
15. Select Program add-ons.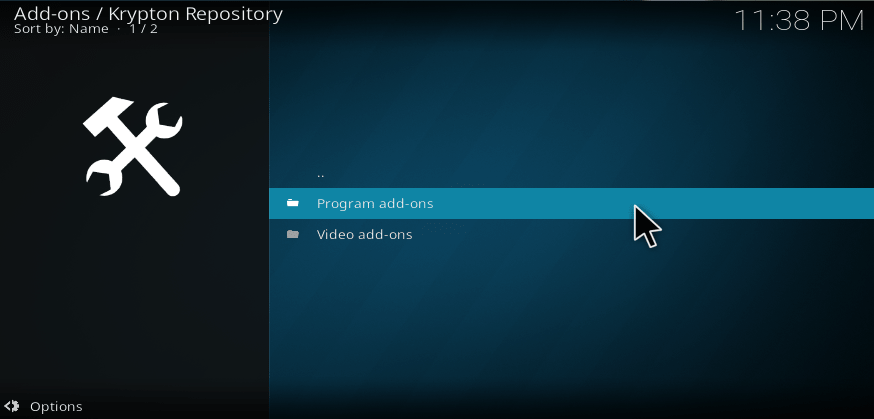
16. Then, scroll down and select XML Downloader.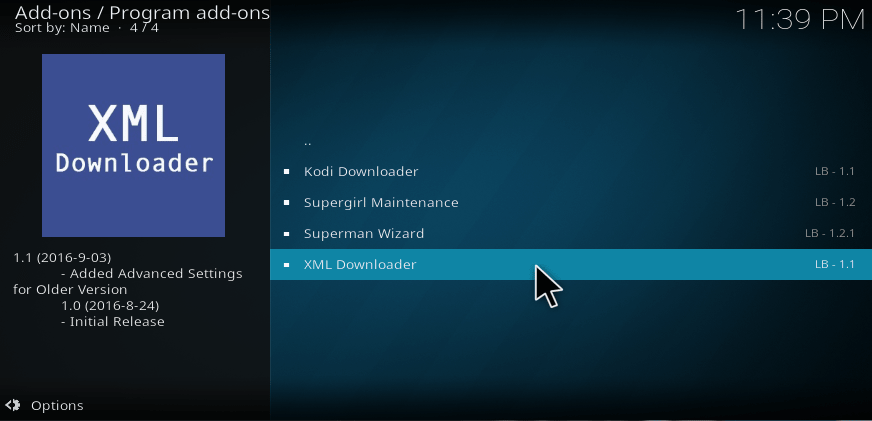
17. Then, Click Install.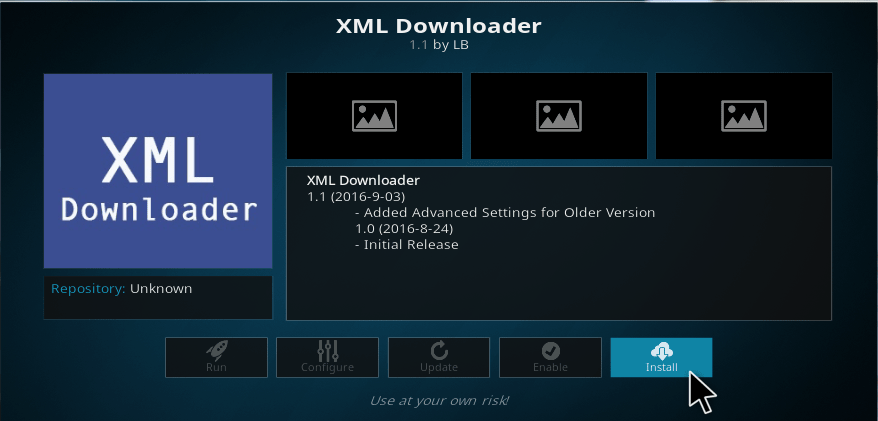
18. Again go back to your home screen and select the XML Downloader from add-on option.
19. Select Increase Cache option of version 17.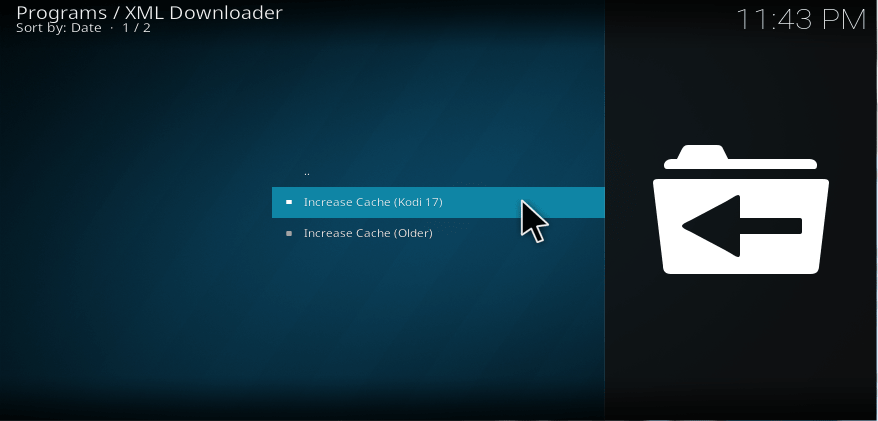
20. Now, it starts downloading on your Kodi application.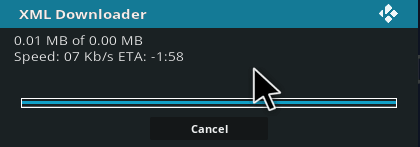
If you need a clear clarify about your installation, then follow the below simple steps.
21. Then, go back to your File Manager and select Profile Directory.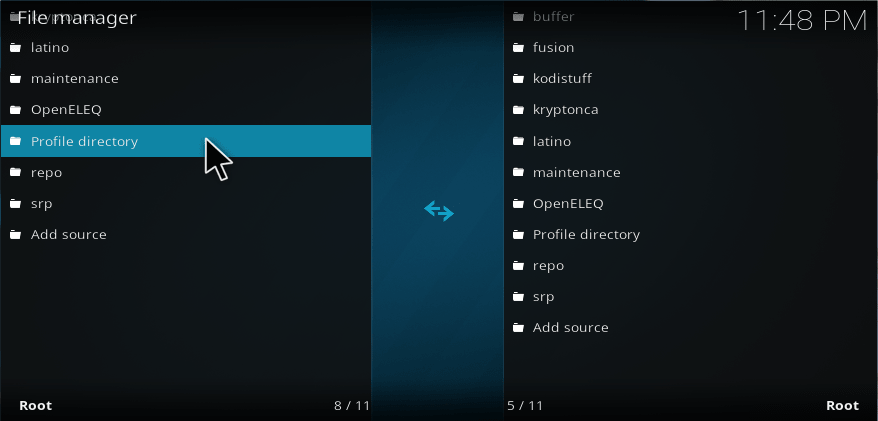
22. Scroll down and check whether you see advanced settings.xml. Or not.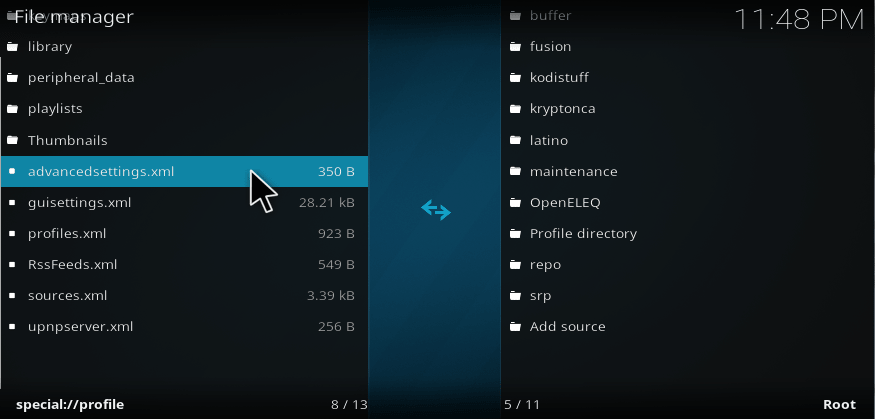
CLEAR CACHE:
When you stream movies or watch some videos, the Kodi will download the data and dump on the memory. If you use Kodi on a High configuration device with more space, then you don’t need to worry about clearing the cache. But if you are using low configured device then you must need to clear your cache on your device.
These are the procedure to increase cache of Kodi. So, follow the steps carefully to solve your cache problem.
Do comment down below in case of any issues 🙂