
The Beast kodi build is one of the popular build at the end of 2016. Even now there are a decent number of users for it. The beast build is also called as People’s build. With the constant update every month and a lot of new features, the Beast builds have attracted a lot of Kodi users. The Beast builds are available for UK and US separately. Let us see How to install the Beast builds in this article.
The beast kodi build requirements
Before getting to installation, there are certain prerequisites for installing this build
- Register at https://thebeast1.com (UK Server) or https://thebeast2.com (US Server)
- Register with a username, email address, and password then click Register
- After the registration, click on Log-in to proceed further.
- Enter the email and password you used in the first step and click on Login.
- Select Verify.
- If you see VERIFIED next to your chosen email, you have been registered successfully. You WILL NOT receive any emails.
How to install the Beast Kodi Repository?
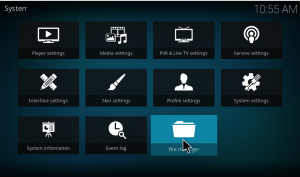
1.Open the Kodi app. As soon as you open the Kodi, you could see the desktop as given below. Just click on the settings button on the window.

2. Open the File manager.
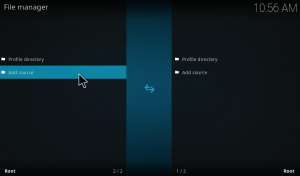
3. Tap on add source to add the required source file.
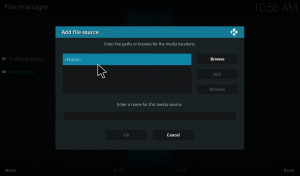
4. Now the dialog box will pop-up, just double click on none and give ok.
5. Then a screen will show up, where you need to enter the beast repo URL “http://thebeast1.com/repo” without any mistakes. Remember if you make any mistakes the path will not be added and will lead to error.
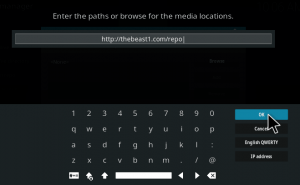
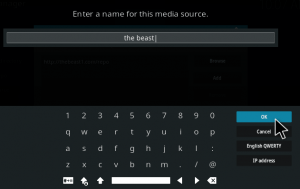
6. Now choose a desired name for the file. Here I choose it as ‘the beast’. Then press ok. Remember the name should not have been used before.
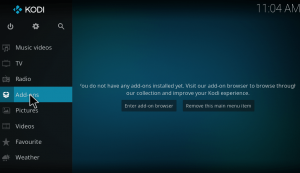
7. Next go back to the main menu by pressing ESC key. Then click on add-ons in the menu.
8. Now on the top left corner, you can find an icon like unzipper(package installer), just click on it.

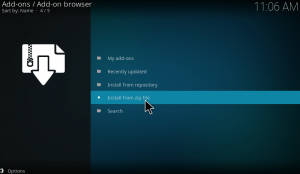
9. Then on the next screen press install from Zip file to add the source file.
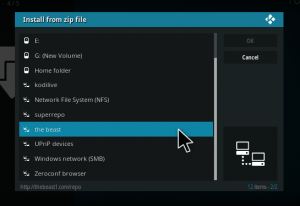
10. Under the zip from file box you can find various files, just hang on to ‘the beast'(whatever name you save the repository file, as shown in step 6).
11.On the next page, you can see only one repository folder named as repository.beast. Just tap on it.
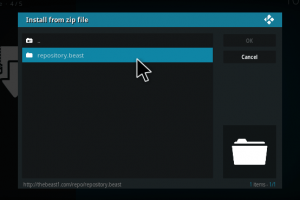
Within the folder, you can find the repository file repository.beast-1.14.zip. By clicking it, you can install the repository.

12. Now a pop-up will appear in the top right corner, once the zip file is installed. That’s about the installation of the Beast repository.
How to install the Beast kodi build?
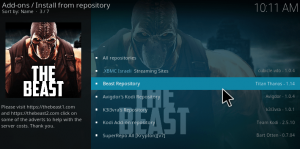
1.Open the Beast repo by clicking on install from repository.

2. Here you can see the list of available repositories in your system. You have to select The Beast Repository.
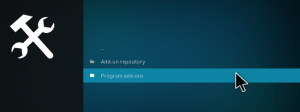
3. Within the repository, you can find Program addons. Just click on it.
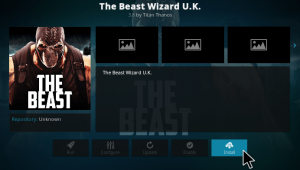
4.On the next screen, you can see the add-ons available with this repository. Click on the Beast UK/US addon based on your registration.
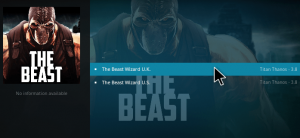
5.It will take you to the add-on information page. Here you can find the install button at the bottom of the screen. Just tap on it to start the installation procedure. Once you click on it, you can see the progress in the download. It will take a few seconds to download the required files and for the process of installation.
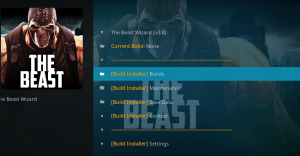
6.Once it is installed, you will get a notification that the add-on is installed and ready to use. Then Open the addon. You can see several options like builds, maintenance, save data and settings. Just click on [Build Installer] Builds.
7.Now a screen will pop-up prompting you to enter the log-in credentials. Enter your email and password you used when registering at the beast site to proceed further. 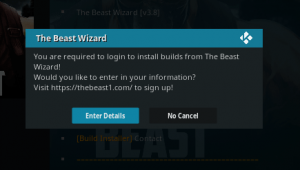
8. Once you log-in, choose the build you want to install and click on install. This will ask if you want to start fresh or retain your data. Choose anything you wish. A fresh start is recommended always.
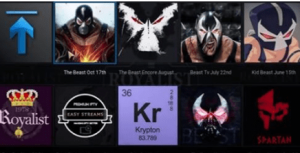
9. Once the installation is complete restart Kodi. Now you can see the Beast skin on your Kodi.

I hope the installation procedure is very clear. Hope the beast kodi build will impress you.

