
The black box kodi build is one of the best builds created for XMBC. The black box wizard is a Linux kernel based ARM media player with XMBC and it is the main interface on Kodi or XMBC. It is also one of the add-ons created by Kodi. The black box wizard is quite popular among Kodi users. The installation is also very easy with our ultimate guide. The Black box Kodi build is based on CCM Helix skin and selection of categories is always rated at the top level. Kodi black box is a complete family build and has many titles including live sports, movies, TV shows, IPTV, kids section, Documentaries, Add-ons, Maintenance, and much more. Under these categories we have got many sub categories as well.
The Black Box Kodi Build step by step installation guide with pictures:
Now let’s see “How to download and install the black box build on kodi?” Before installation please do refresh the data. This would make the installation process very smooth without interruption.
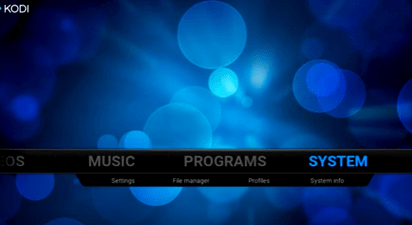
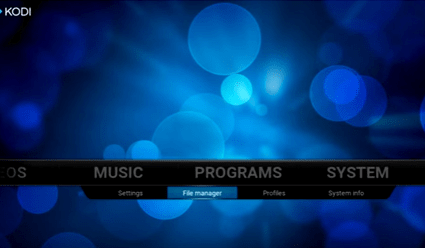
- In this step, open the Kodi or XMBC software. The home screen of the Kodi software looks as shown below. In the main screen, we have many titles like videos, audios, music, programs, system etc. Select the title “SYSTEM”.

- Under the system, we have subtitles such as settings, file manager, profiles, and system info. But we need to select” FILE MANAGER”.
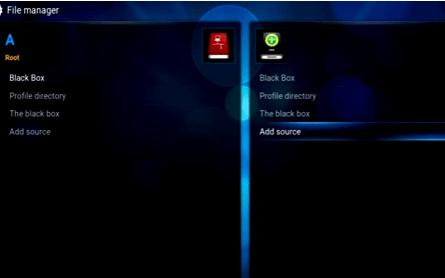
- After the file manager got opened, there will be two dialog boxes like A and B. Select “ADD SOURCE” in dialog “A” box.
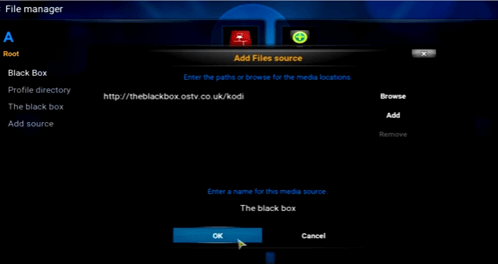
- After you click on the Add source, the dialog box called Add Files Source will get opened. Just click “NONE” at the top left corner of Add source files box. Immediately, another dialog box will open and ask us to “Enter the paths or browse for the media locations”.
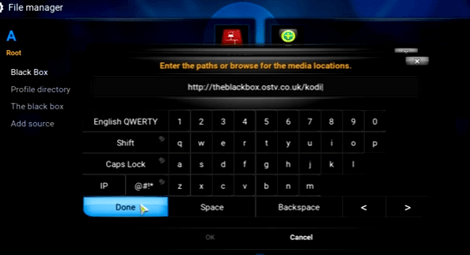
- In this step, we need to type the link http://theblackbox.ostv.co.uk?kodi exactly in the space provided under Entering the paths or browse for the media locations. Once we type the URL, we should click DONE to get processed.
- Once we have given the link and clicked done, we could see another text under the link, there is one more work to do that is “Enter a name for this media source”. In that type the name as “The black box” in the space provided. Click “OK”.
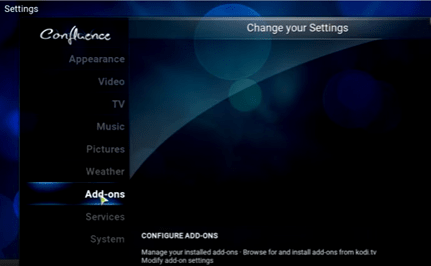
- After we click ok, the Kodi main screen will open.Again we should select the main title”SYSTEM”.Below the SYSTEM, we can find the subtitles which comprise of settings, file manager, profiles, and system info.This time we should select SETTINGS subtitle.
- In the SETTINGS, we have a dialog box called “Change your settings”. There will be many options like video, Live TV, music, pictures, weather, Add-ons, services, and system. Click ADD-ONS button.
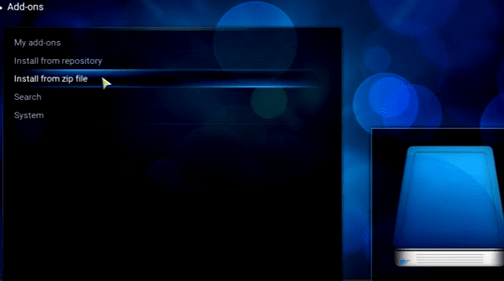
- ADD-ONS box will open. There are various options include my add-ons, Install from the repository, Install from the zip file, search, and system. Select “INSTALL FROM ZIP FILE” at the left side. In the right side, we can see a book like structure called zip files.
- Once these procedures got over, once again go to Kodi main screen.select the title”PROGRAMS”.we have many subtitles under the programs.select ADD-ONS.
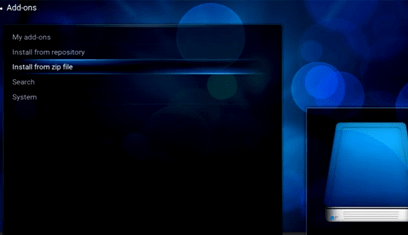
- Once the Add-ons button got opened, many options are available. But again we should select the option, “INSTALL FROM ZIP FILE”.
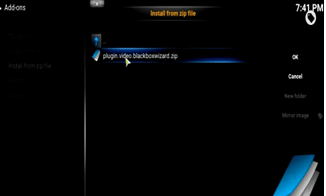
- After the zip files are installed successfully. Go to the option called “Plug-in. Video.Blackboxwizard.zip” and click that zip file. The extension itself reveals that the file called zip files. In the right side, we have ok and cancel buttons. But it is not necessary to click those buttons. We should double click the zip file shown and wait for the particular add-on enabled notification.
- Once the add-on is got enabled. The particular add-on which is the Kodi black box download is now installed. We double click the zip file, to view the add-on called “The black box”, the media name which we have given in the add source files column. Other than that many folders are available. Click the add-on “THE BLACK BOX”.
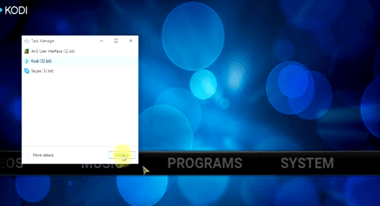
- Actually, these steps take very few minutes to complete the whole installation of Kodi black box download. Once we download the black box on Kodi got over, we must force shutdown the software by clicking “ctrl + alt +delete”, unlike proper shutdown which involves clicking the shutdown button.
- Go back to Kodi main screen and select the main title “PROGRAMS”. Under the title PROGRAMS, click the subtitle ADD-ONS.
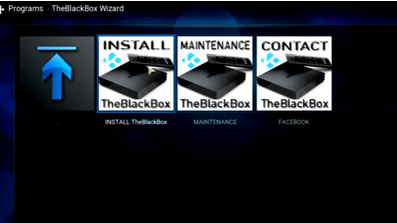
- Then select the option the black box wizard at the top left corner and click it. In the right side, we can see the icon, “THE BLACK BOX WIZARD”.
- This is the last step. Now the entire process got finished by clicking the image button “INSTALL THE BLACK BOX” in Kodi home screen.


Once the installation process of downloading the black box is finished, we can view the add-on called the black box in Kodi home screen.
Now the process is completed. We can enjoy watching sports, Live TV, music, etc. For to enjoy watching these stuff, we need to visit home screen of Kodi/XMBC software.
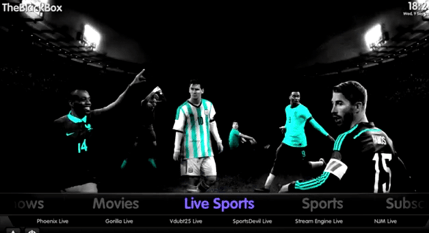
Kodi black box add-on consists of movies, music, add-ons, live sports, etc. After installing the black box build on Kodi, we can see the iconat the top left corner of the kodi software.
Do you still find issues with the black box kodi build? Then feel free to drop a comment below.
