
In this article, we are going to discuss how to watch history channel on kodi with two different addons. So, the most appropriate addon to watch History Channels is Exodus addon. Exodus is one of the most used and certified as best kodi addon. By installing this addon, you can watch all the Sky channels and anything you want to watch without any problem. So, install this addon and enjoy watching history channel on kodi.
Steps to watch history channel on kodi with exodus addon:
Here, we are going to discuss how to install Exodus addon and watch History Channel on Kodi. So, follow the below steps to complete your Installation process to watch your favorite shows on your Kodi.
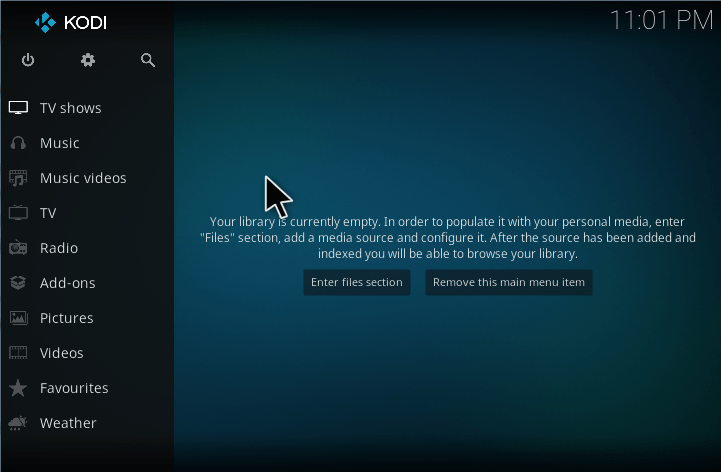
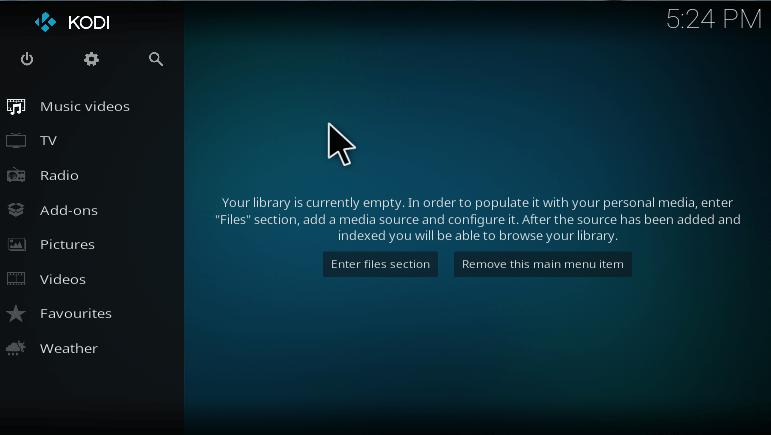
1. Launch the Kodi application on your device.
2. Select the gear symbol from the top of the homepage.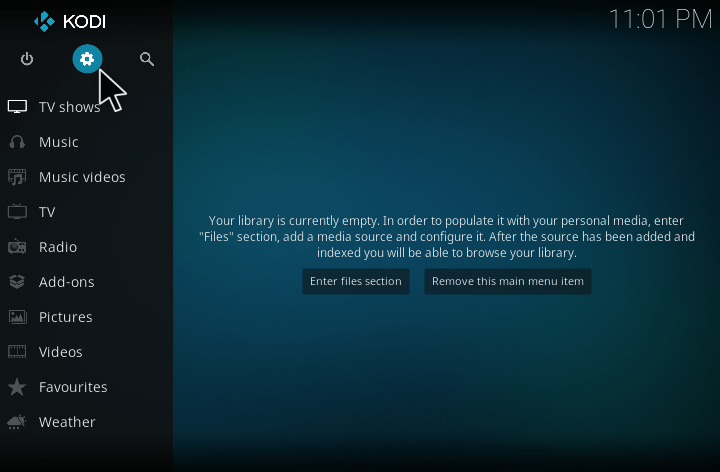
3. Then select File Manager from the Settings.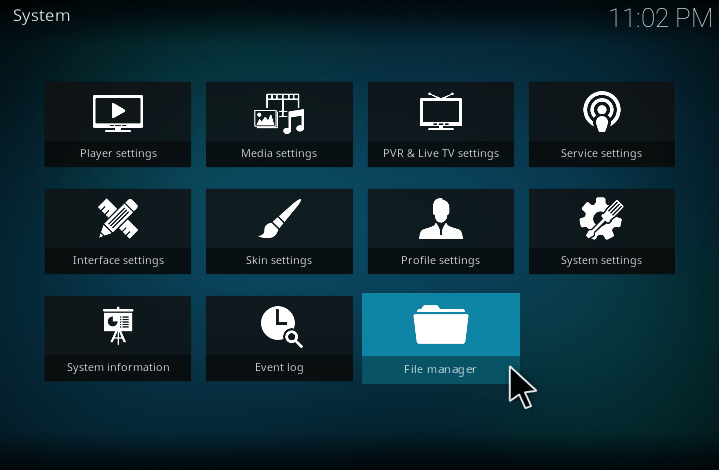
4. Now, scroll down and double click on Add Source.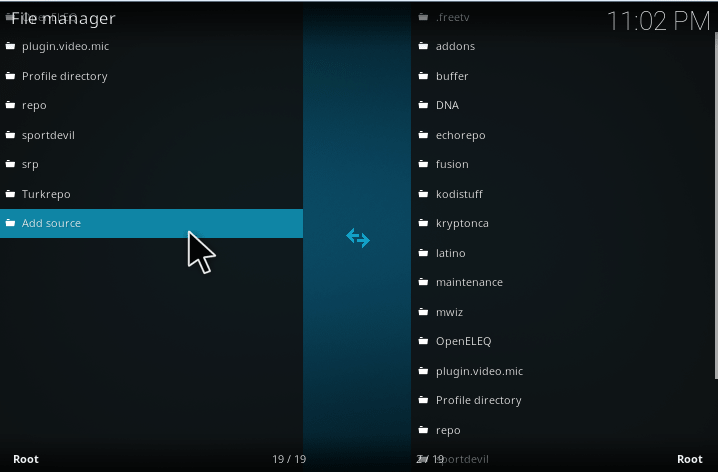
5. Then, click on <None> to add the path address of Exodus.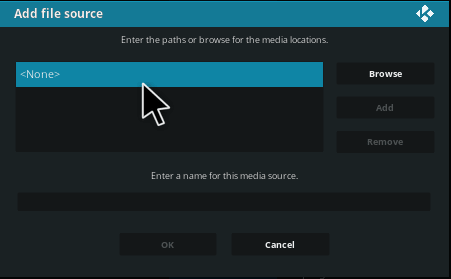
6. Now, type http://mediarepos.net/kodistuff and click OK.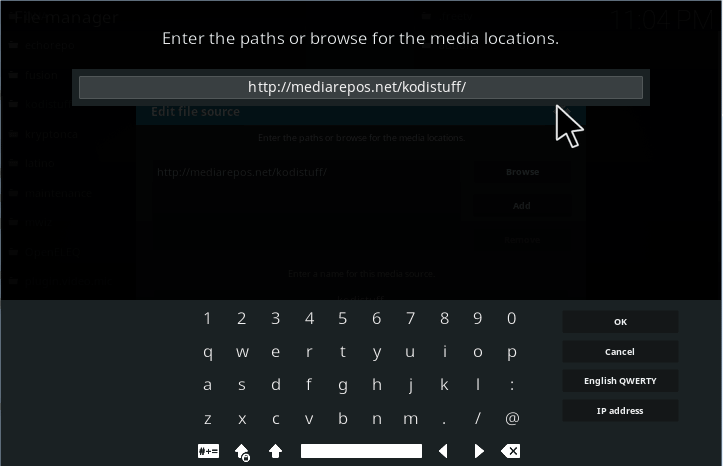
7. After that give a name as Smash Repo or give whatever you want to call and click OK.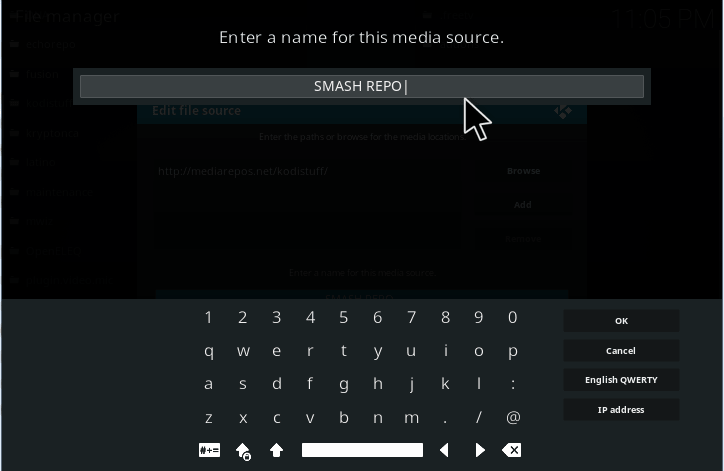
8. Then, press “Esc” twice to back to your home page of Kodi and select Addons.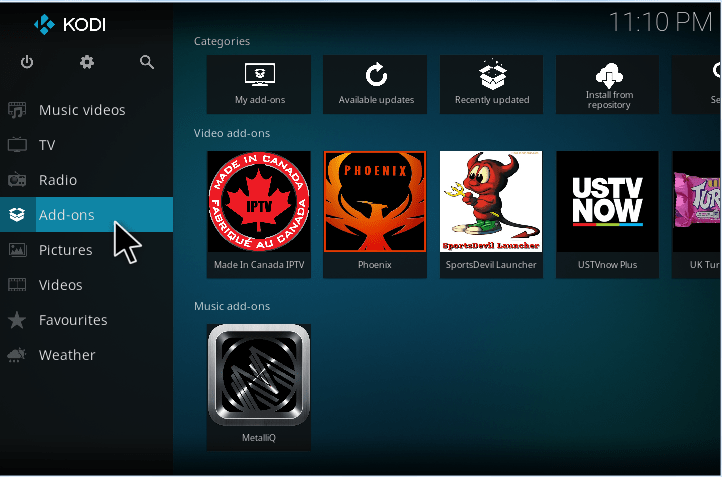
9. After that select addon browser from the left top of your addon page.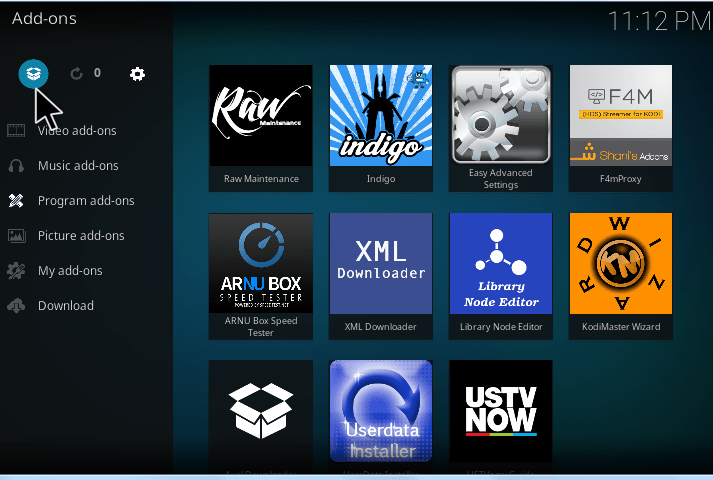
10. Then, select Install from zip file.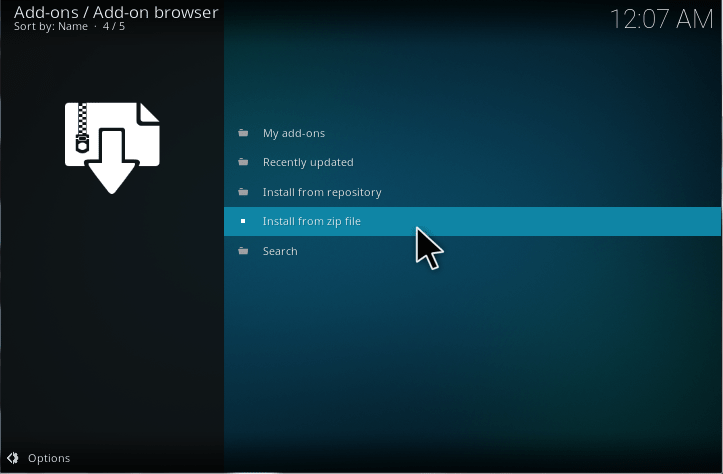
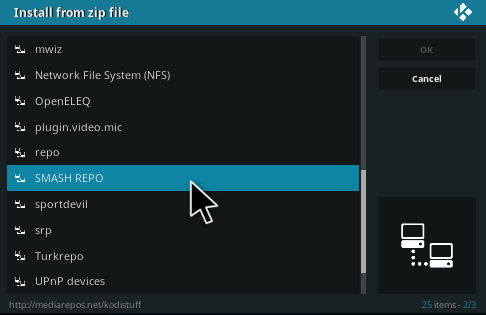
11. Now, scroll down and click on the name Smash Repo (or) click on the name which you gave before.
12. Then, select the zip file called Smash_Repo.zip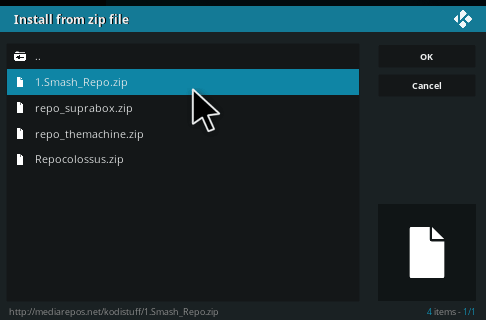
13. Now, your Smash Repo addon is started installing on your Kodi.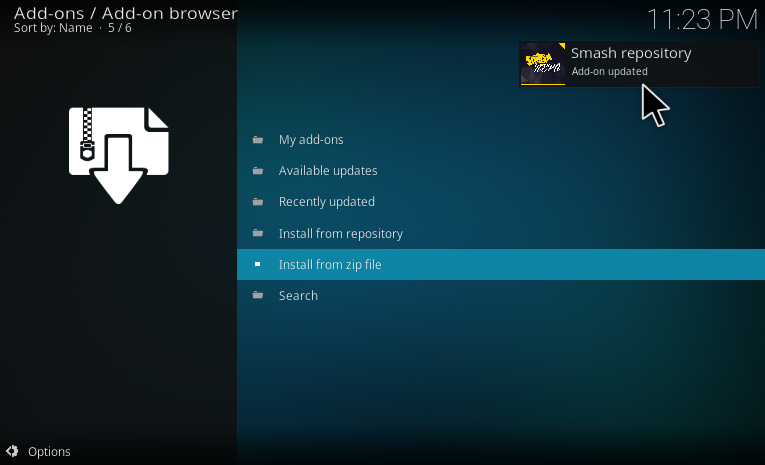
14. After that click on Install from repository.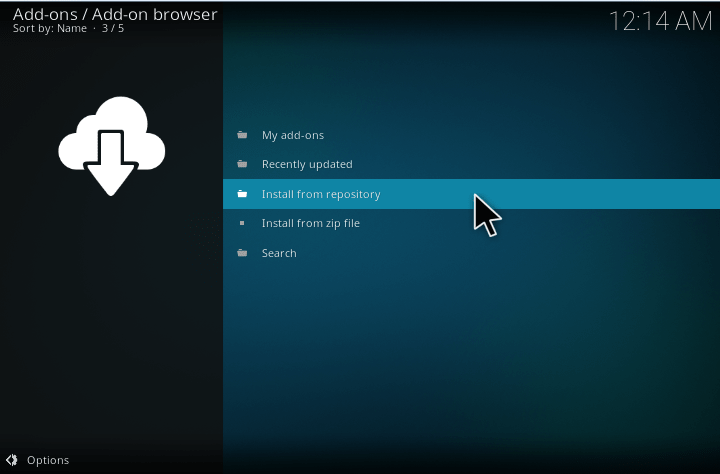
15. Then, select Smash Repo to add the repository.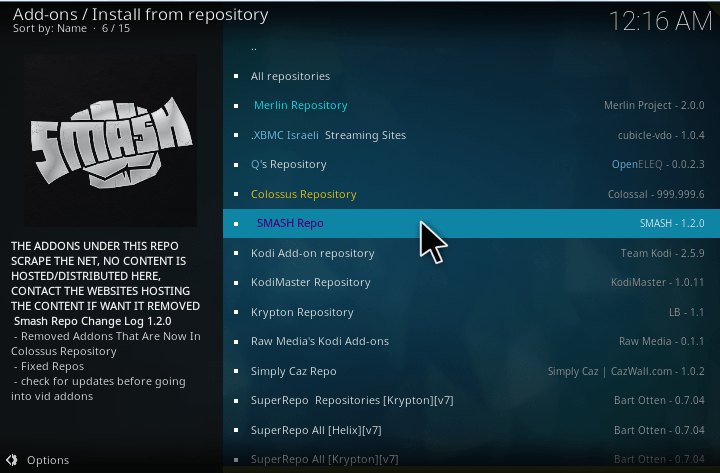
16. Now, scroll down and choose Video Addons from the Smash Repo.
17. Then, again scroll down and select Exodus to download on your device.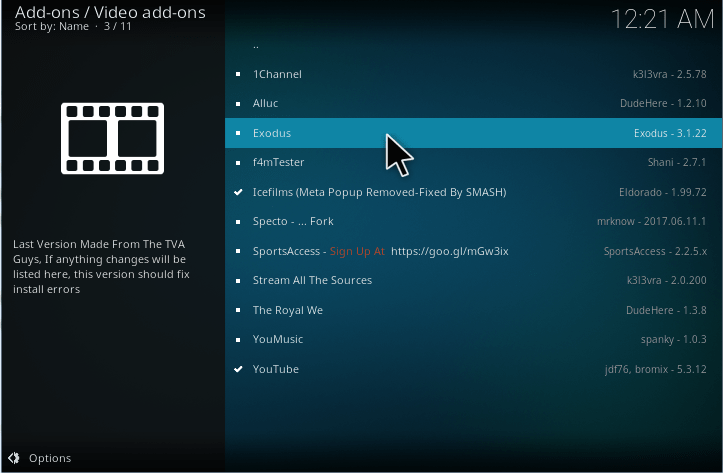
18. Now, click Install.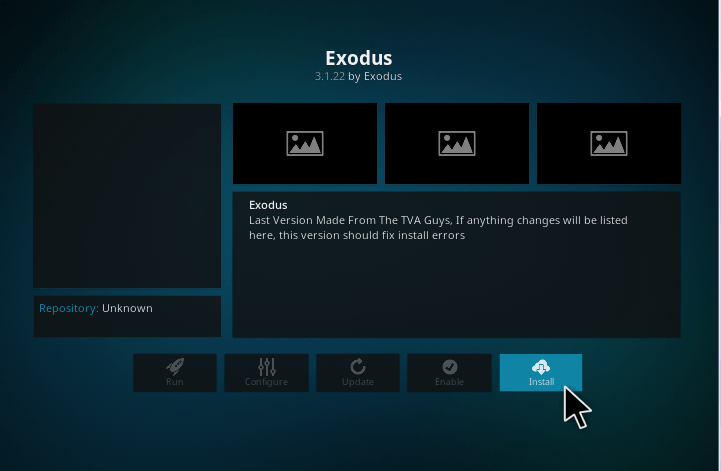
19. Then, choose the version as Smash Repo.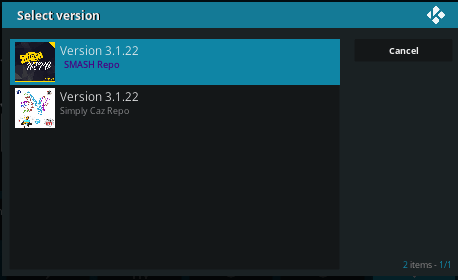
20. Finally, your addon starts installing on your Kodi application.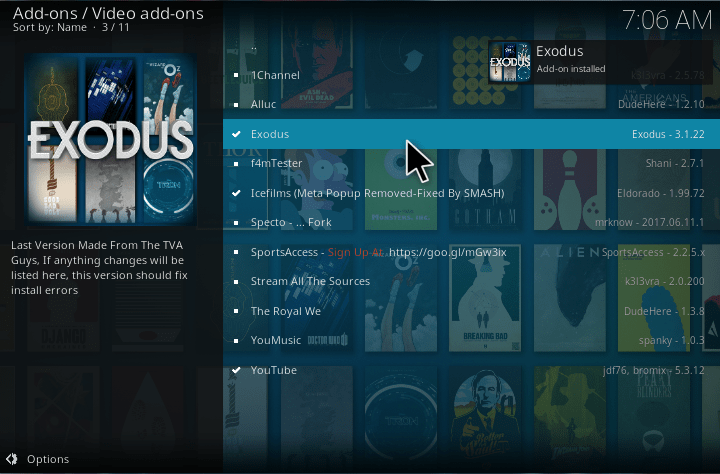
21. After installation go back to your Kodi homepage and choose Exodus from Addons-> Video Addons.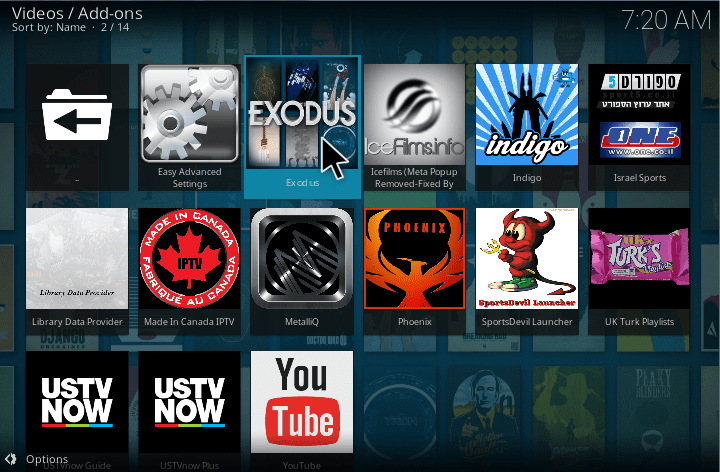
22. Then, select TV Shows from the Exodus addon.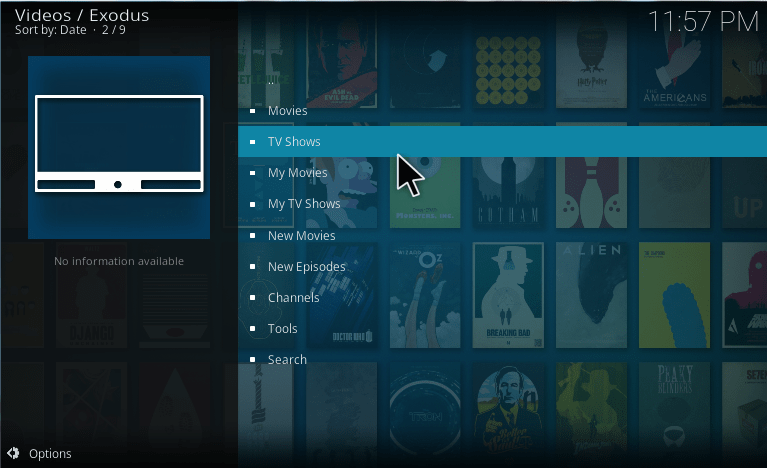
23. Inside of that select Networks from the list of filters.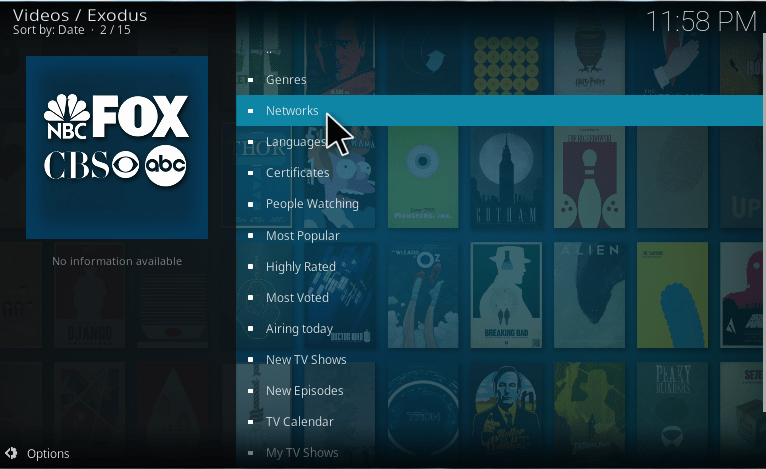
24. Then, scroll down and select History Channel from the list of International networks.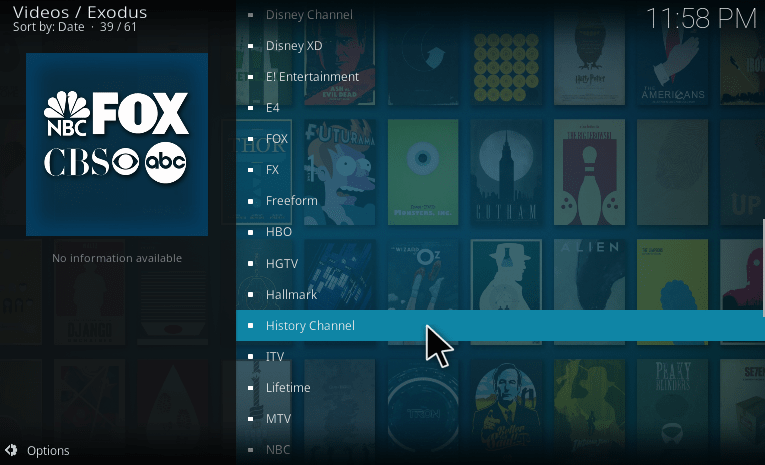
25. Now, choose your favorite Show to stream.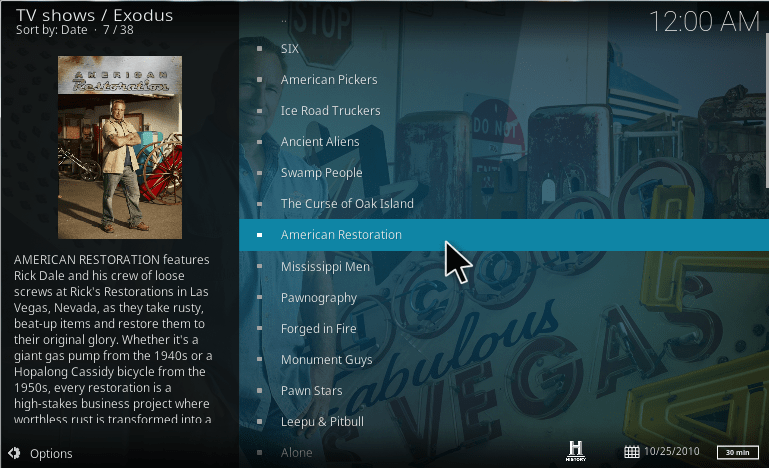
26. Finally, you can now watch history channel on kodi.
These are the steps to download and install Exodus addon to watch History channel on Kodi.
How to watch history channel on kodi with convenant addon?
The Exodus is a very popular addon as we all know, But if your Exodus addon is not working, then you have an alternative option to watch History channel on kodi. It’s none other than Covenant addon. The Covenant addon is one of the best alternatives of Exodus. So, if you are a user of Exodus, then you don’t want to know any extra information about Covenant.
Here, we are going to see how to install Covenant addon to watch History Channel on Kodi. Follow the below steps carefully.
1. Launch the Kodi application from your required device.
2. Select the gear symbol from the top of the homepage.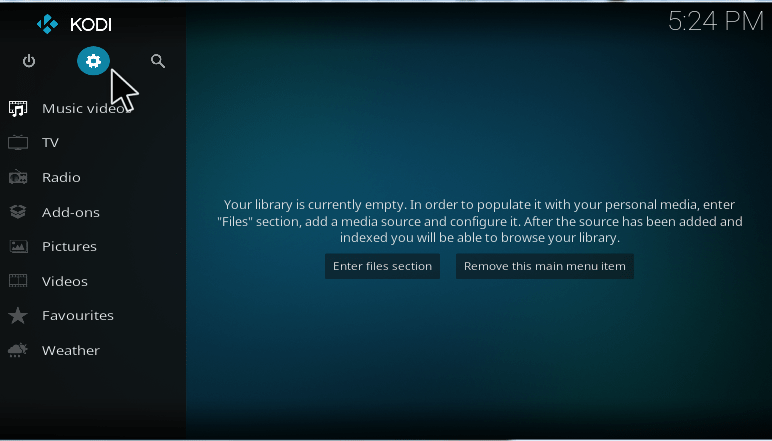
3. Then select File Manager from the Settings.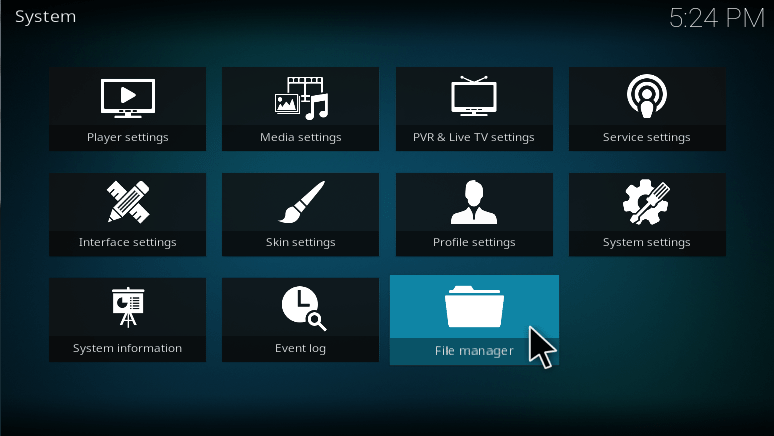
4. Now, scroll down and double click on Add Source.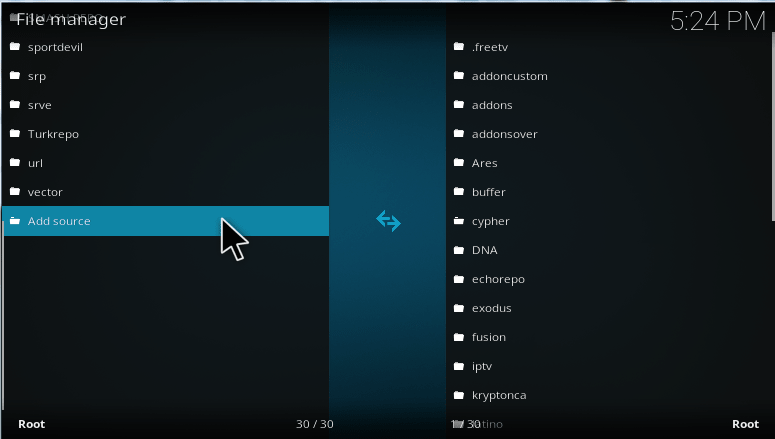
5. Then, click on <None> to add the path address of Exodus.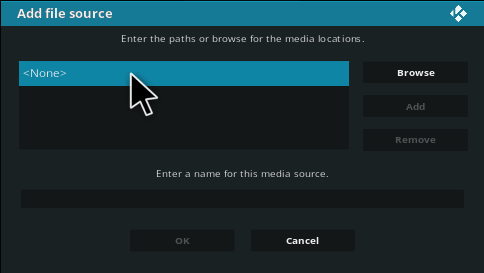
6. Now, type http://mediarepos.net/tco and click OK.
7. After that give a name as tco or name it whatever you want to call and click OK.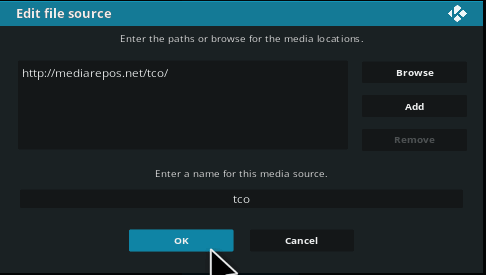
8. Then, go back to your home page of Kodi by pressing “Esc” button twice and select Addons.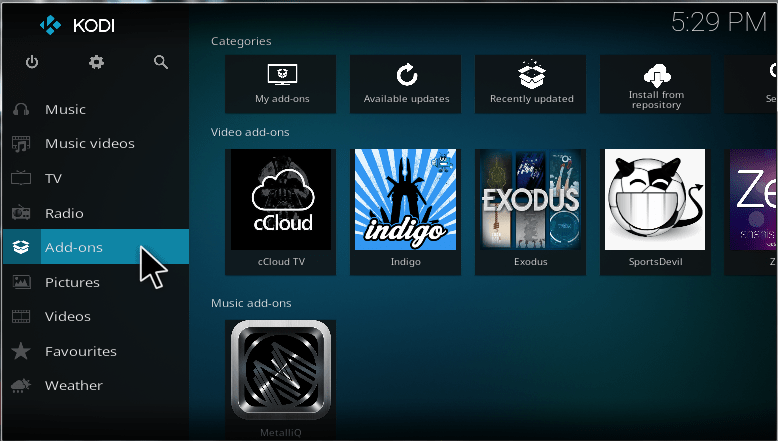
9. After that select Package Installer Icon from the left top of your addon page.
10. Then, select Install from zip file.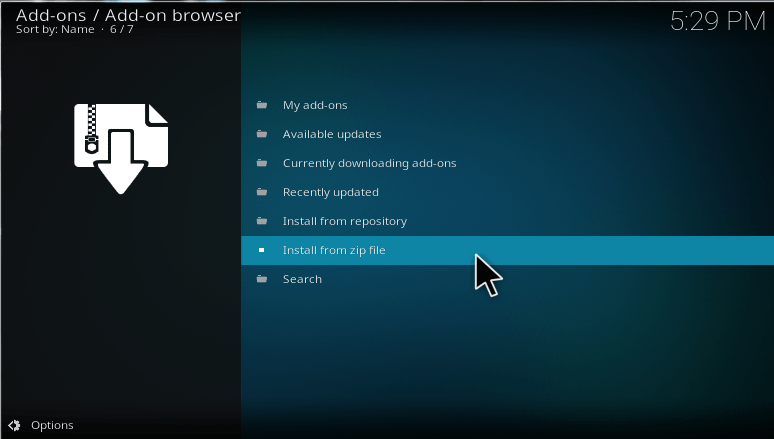
11. Now, click on the name which you gave before.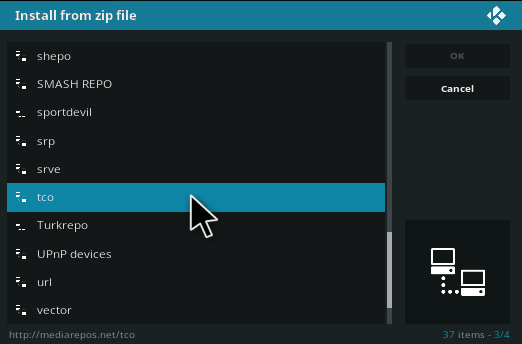
12. Then, choose the zip file called Repo_colossus.zip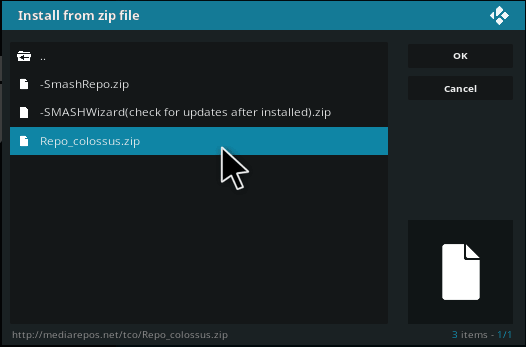
13. Now, your Colossus addon is started installing on your Kodi. So, after installation of your repo click on Install from repository.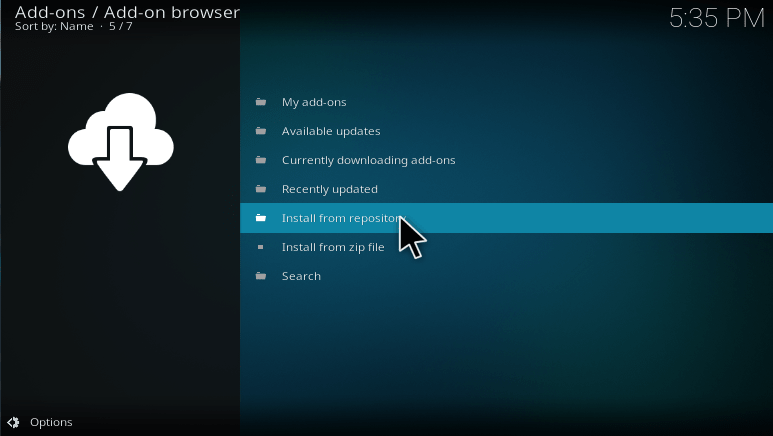
14. Then, select Colossus Repository to add your repository file.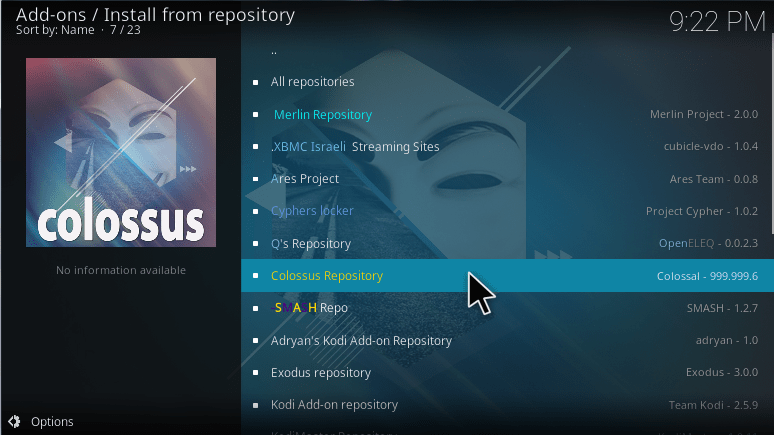
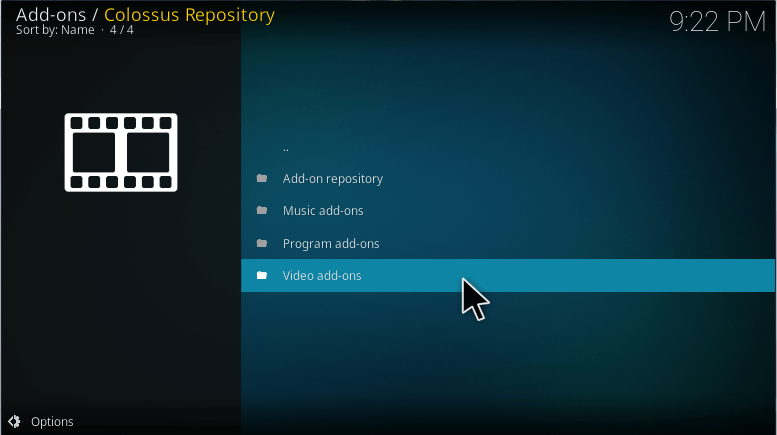
15 .After that, choose Video Addons from the Colossus Repository.
16. Then, scroll down and select Covenant addon to install it on your device.
18. Now, click Install.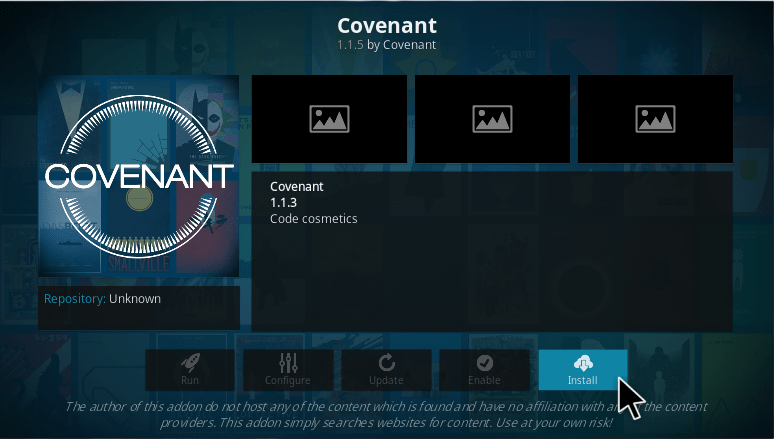
19. Then, choose the version as Colossus Repository.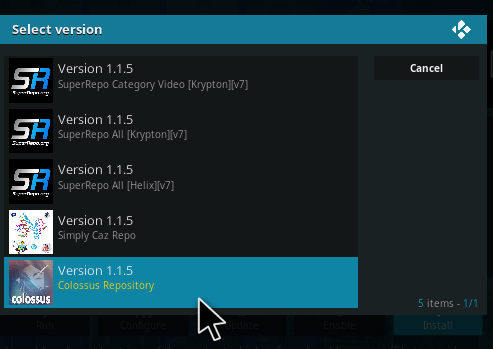
20. Finally, your addon starts installing on your Kodi application.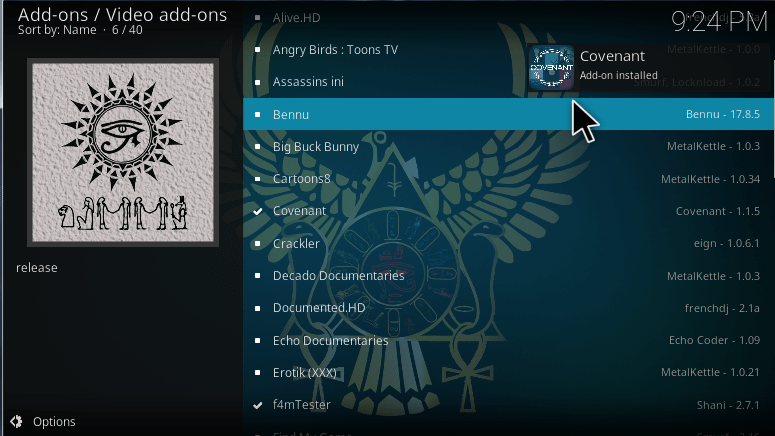
21. After installation go back to your Kodi homepage and choose Addons.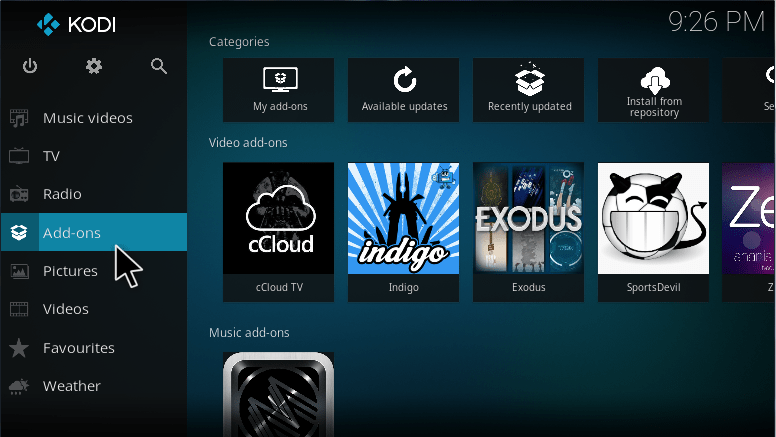
22. After that, choose Video addons from the addon list.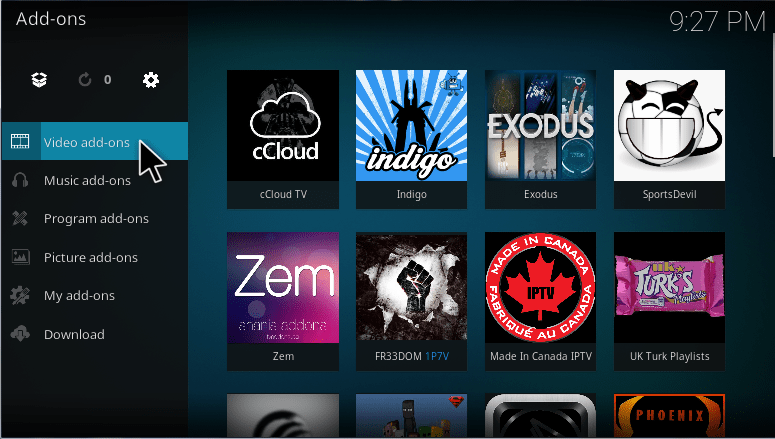
23. Then, scroll down and select Covenant addon.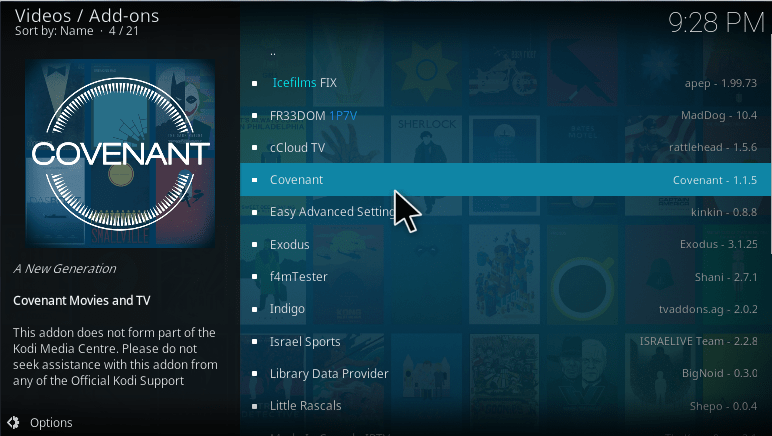
24. Now, select TV Shows from the Covenant.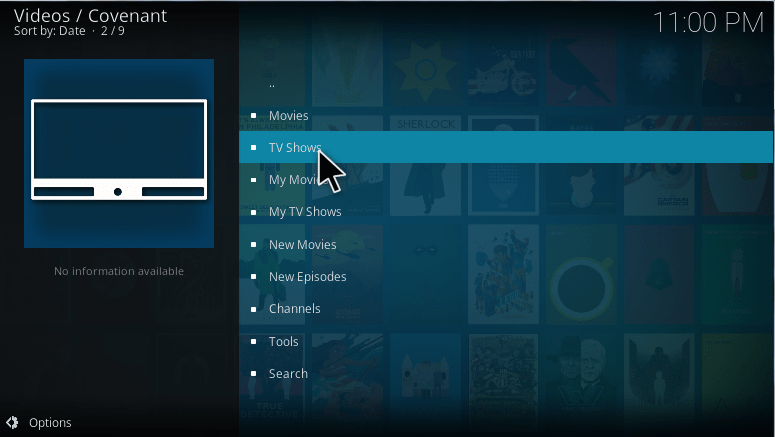
25. Then, select Networks. 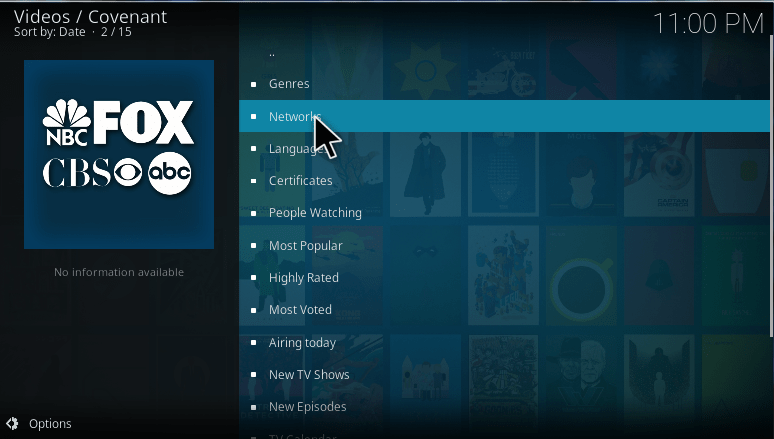
26. Now, scroll down and select History Channel from the list of international Channels.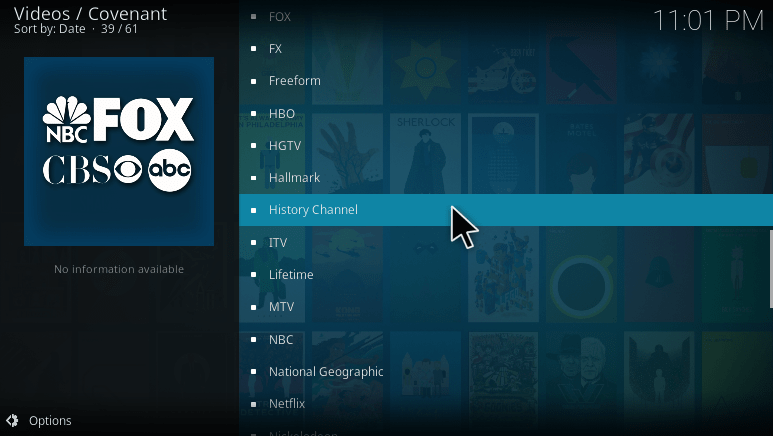
27. Then, choose your favorite Show to stream.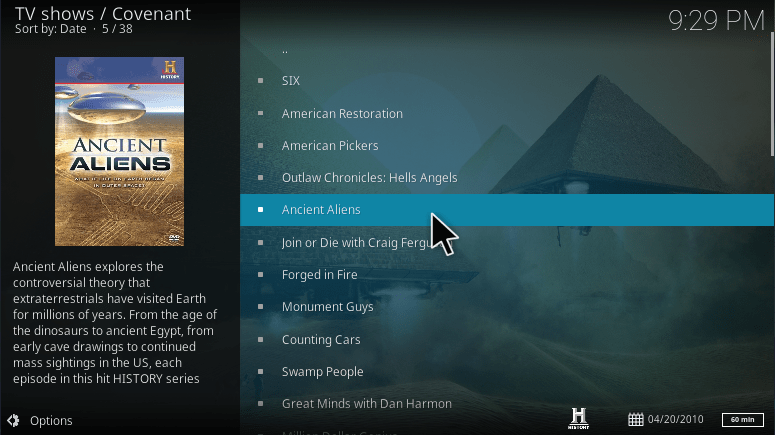
28. Finally, your selected Tv show is streaming on your application as given below.
So that’s about the steps to watch history channel on kodi. Enjoy watching history channel on your device with kodi.
None of them work. Both say cannot connect and also don’t work on web browser. Please help me find away I want to start watching vikings.