
What is the Adryanlist addon?
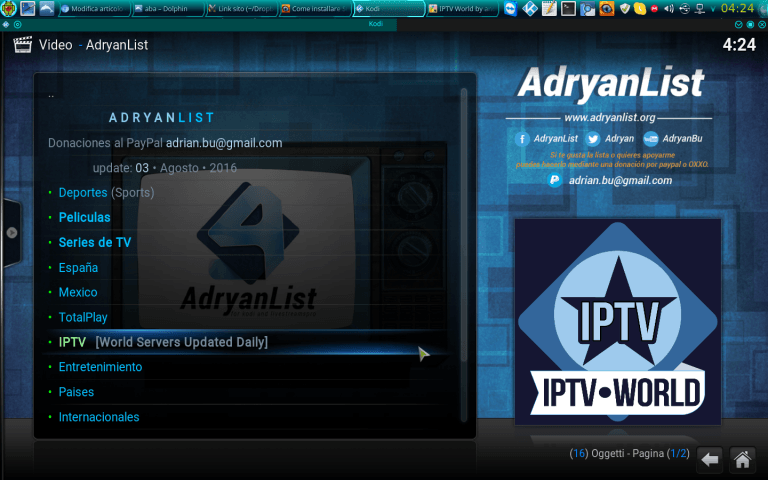
Adryanlist is one of the best TV show add-ons for Kodi. This add-on will contain the TV contents mostly. It includes particular TV series also. Adryanlist is mainly developed for the people who are speaking the Spanish language. Here we will get a lot of options to select with many different categories in it. The add-on is designed by “Adryan.”
For all the Spanish speaking audience, this add-on is all in one add-on for them. Though it is for Spanish people, it can be navigated by everyone through the add-on which contains some great sources in it. Kodi is open-source, and it can be modified to suit your needs, and there is a huge range of add-ons. These add-ons are just happening to be still the most popular because they are reliable and have contents which people are looking for. One such best Kodi add-on to watch live TV shows and TV series is Adryanlist add-on.
Features of Adryanlist add-on
Inside the Adryanlist add-on, there contain many features such as,
- Live sports
- TV series
- Spanish channels
- Mexican channels
- Live IPTV channels
- 24/7 TV channels
- Music channels
How to install adryanlist addon on Kodi?
This article is going to help you about the things like how to install Adryanlist add-on to kodi and how to use it after installation. It is one of the nice add-ons you can use it for entertaining yourself and the people around you through live TV shows. Before opening, start the work normal by refreshing data. Refresh would make the installation process very smooth without interruption.
STEP 1: The initial step has to be started from the home page of kodi. In the home page of kodi, you can see many tabs which include videos, movies, programs, music, and much more. In these options, navigate to “SYSTEM” tab and click on it.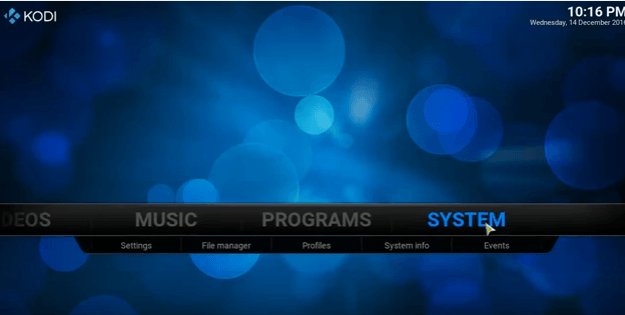
STEP 2: Under the system, we have subtitles such as settings, file manager, profiles, and system info. But we need to select” FILE MANAGER.” 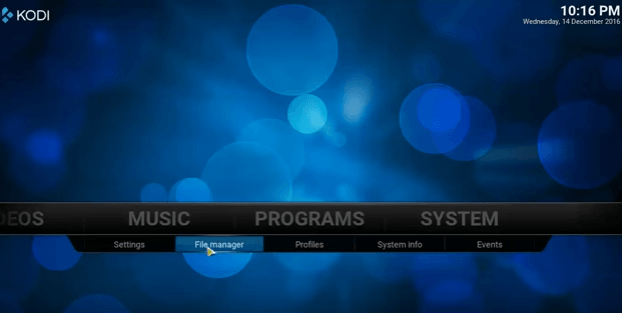
STEP 3: Clicking on the File Manager, it will open up the page as shown above. In this page, you have to go to the option called “ADD SOURCE” and click on it. 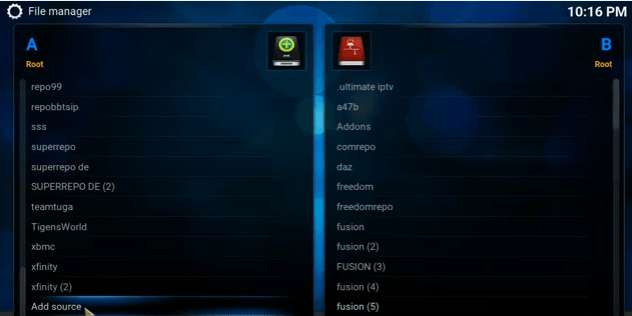
STEP 4: Once you click the Add source option, it will open a dialog box to enter the name for the media source. In that, click on the first text box with default content “NONE.” Space is provided for entering the path for media location. 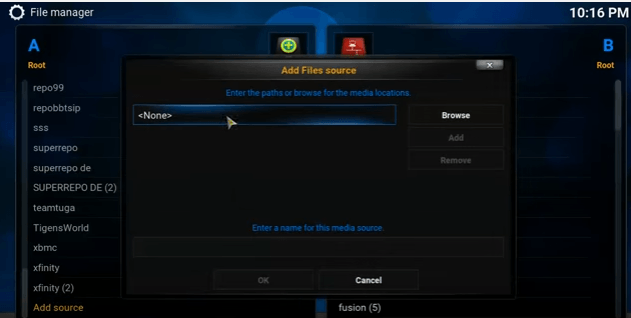
STEP 5: After you click on that space with none, it will open up a box with Virtual Keyboard further. In that, you have to type the media location link. You have to just enter the link http://repo.ares-project.com/magic/ in the space provided. After you enter the link, click the “DONE” button at the bottom of the window. 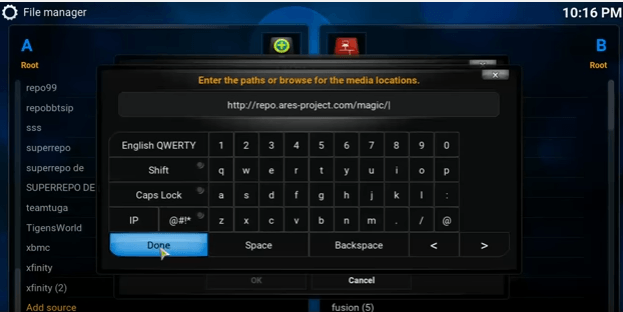
STEP 6: Once you enter the URL in the media location space. Next, you have to navigate to the text space which is provided for giving the name of the media source. Here you can name the media source file according to your wish. Here, we name the media source file as “magic.” After typing the file name, click “OK” button at the bottom of the window. 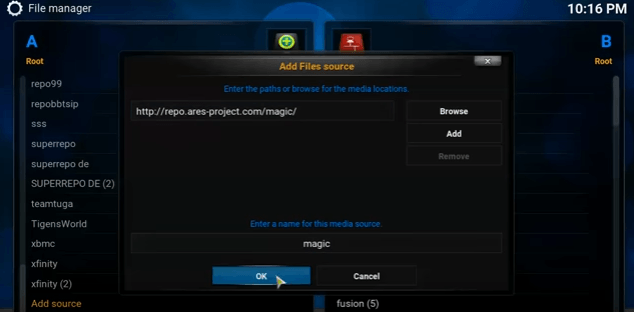
STEP 7: To enable the installation process, go to the main page of Kodi. Again click the main title “SYSTEM.”Below the System, there are subtitles comprise of settings, file manager, profiles, and system info. This time we should select “SETTINGS” subtitle. 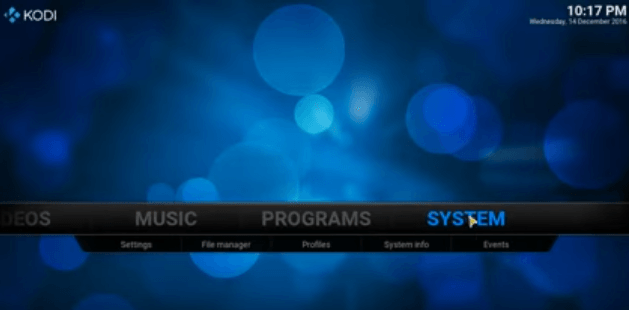
STEP 8: In the SETTINGS, we have a dialog box called “Change your settings.” There will be many options like video, Live TV, music, pictures, weather, Add-ons, services, and system. Click “ADD-ONS” button. 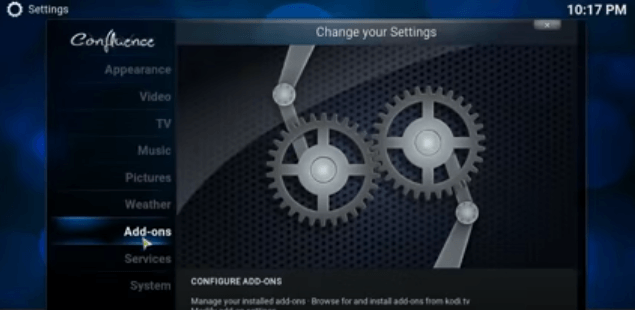
STEP 9: ADD-ONS box will open. There are various options include my add-ons, Install from the repository, Install from the zip file, search, and system. Select “INSTALL FROM ZIPPING FILE” at the left side. In the right side, we can see a book like structure called zip files. 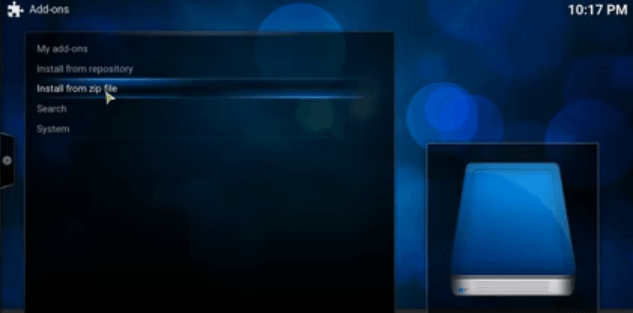
STEP 10: When we double click the zip file, you can see the list of media source files. Select “magic” media source file which you have given. Other than that many files are available. Click that particular media source zip file. 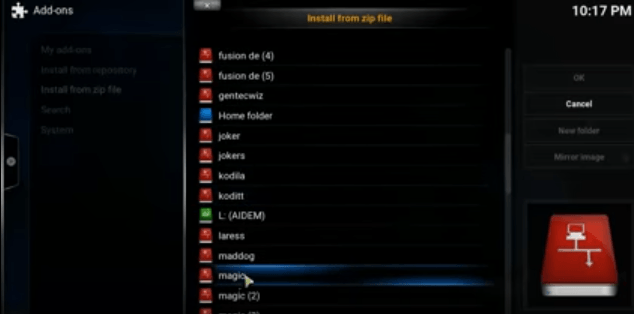
STEP 11: Once you click the media source file, where open a repository folder “repository.aresproject” and click OK. 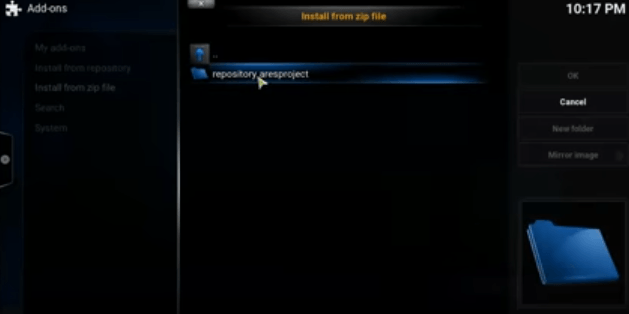
STEP 12: After you open the repository file called repository.aresproject. You could see the repository Zip file with the name “repository.aresproject.zip” which is the one that you have to click on to open. 
STEP 13: Once you click the repository Zip file called “repository.aresproject.zip.” You need to install that particular repository zip file. So click “Install from the repository.” You can see a pop-up message at the right bottom of the screen. It means that the repository is ready. 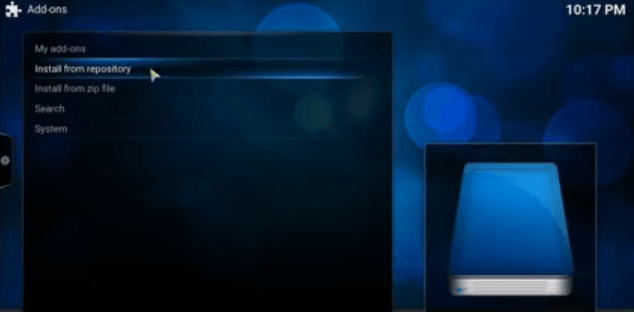
STEP 14: After you have selected the repository zip file, there are many repositories files are available. From the repository zip files, you should select “ARES PROJECT” at the left side of the screen. In the right side, you can view the file details which you have selected. The details contain author, version of the file, and the link to the file. 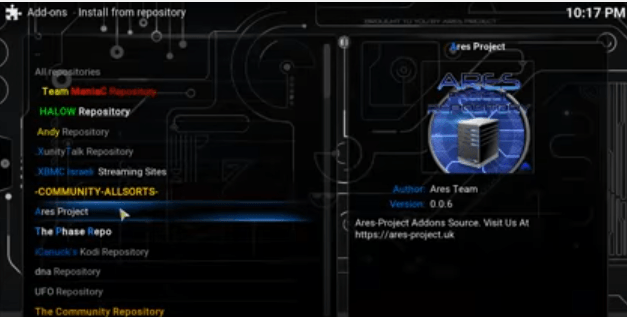
STEP 15: Select “VIDEO ADD-ONS” from the Ares project. In the Ares project, there are Add-on repository, Music add-on, Program add-on, and Video add-on. Each contains its features.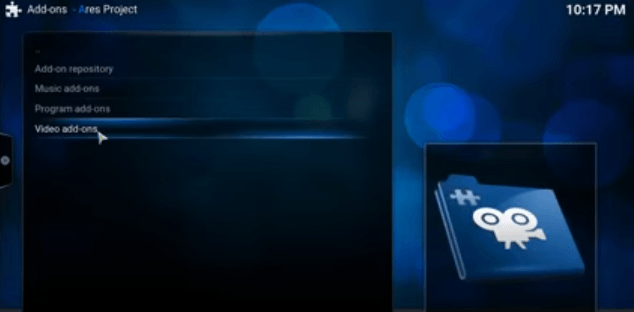
STEP 16: From the different types of video add-ons, you need to choose “Adryanlist” which is the one we want to install. In the right side, details of Adryanlist add-on have given. 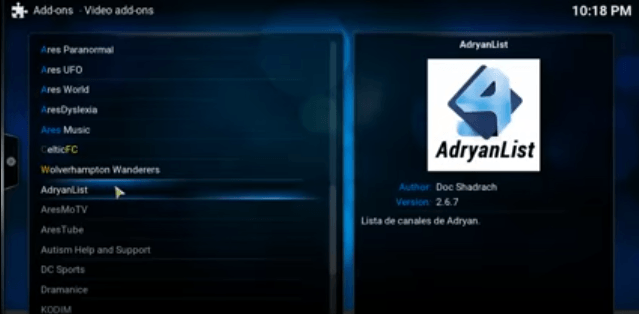
STEP 17: Select and click the add-on “Adryanlist” and click “INSTALL” for further process. 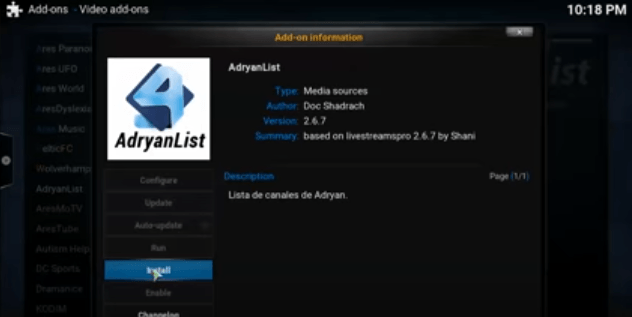
STEP 18: Now there are only a few steps to be followed to get installed. Here again, go to the main page of Kodi, and select the main title “VIDEOS.” 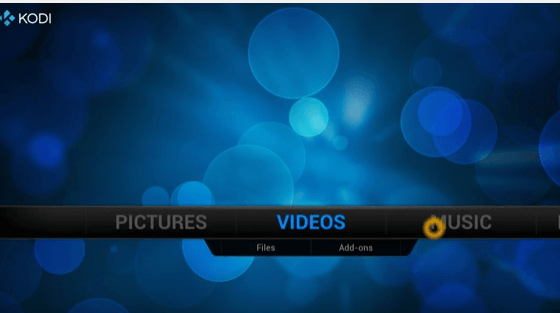
STEP 19: From the main title Videos, there are two subtitles. They are Files and Add-ons. Choose “ADD-ONS” subtitle.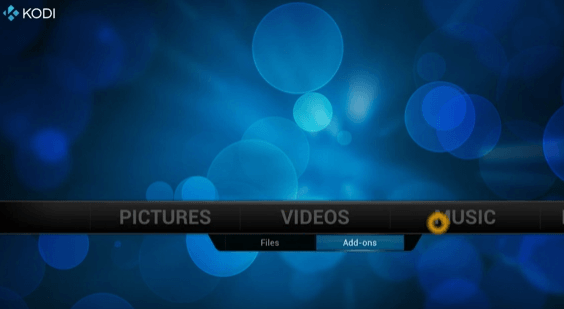
STEP 20: Once you click Video add-ons, there we can view various add-ons like live streams, mega reborn, IPTV, onime plus, and more. Select “Adryanlist” add-on.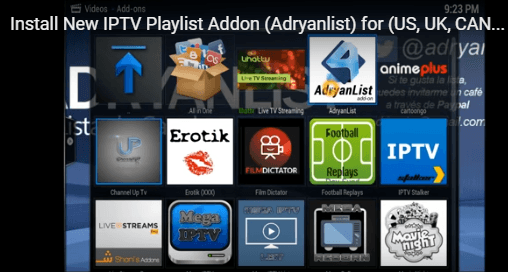
STEP 21: Now you are in the final stage. You add-on got installed, and it shows various TV shows and TV series. You can choose as per your choice.
The above steps are the detailed steps which you need to be followed for installing the Adryanlist add-on. For better performance, make sure to clean the data before you start the process. Keep watching and keep enjoying.

Teengo un problema me abre por unos segundos.. Y luego me saca.. En todos los canales de adryanlist
It didn’t worked! Sometimes it works but like 30 seconds.. really annoying!
López
The movie stop freeze and crash, don’t play smooth
I can hear but no video. See escucha pero no se ve.
This entire addon is useless every 1.5 seconds it refreshes the entire addon making you not able to select anything at all deleting.
I use the Adryanlist and I really like it but can someone make it better? I look for novelas and it gives me the illusion that it’s going to work but it doesn’t it’ll show me the picture of the novela and names of the chapters but disappoint me when they don’t play it’s a total tease. Any info would help can someone fix this possibly make it like Exodus when you can find shows movies popular movies a search bar that all works well.
Adryan want us to donate $ if we don’t he doesn’t allow us to watch any Chanel’s or movie, I would donate but I don’t have paypal