
cCloud Kodi addon doesn’t need any introduction. It is one of the most famous live TV addon with lots of other media contents. It is available in the Kodil Repository. It has some general sections like Sports, News, Music, Entertainment, News and much more. Now let us proceed to the step by step installation procedure of the cCloud Kodi addon.
How to install cCloud Kodi addon
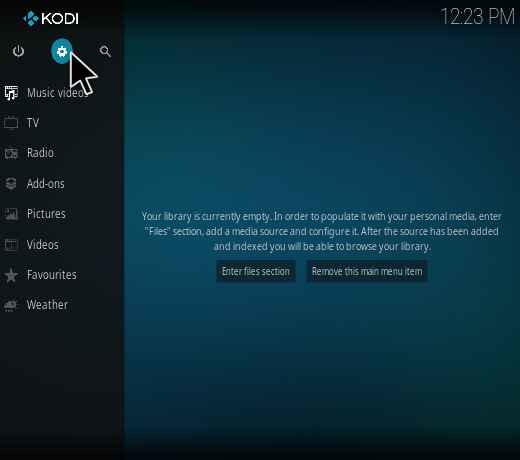
1. From the Kodi Homepage, Click on the gear icon.
 2. Now select the File Manager from the System settings menu.
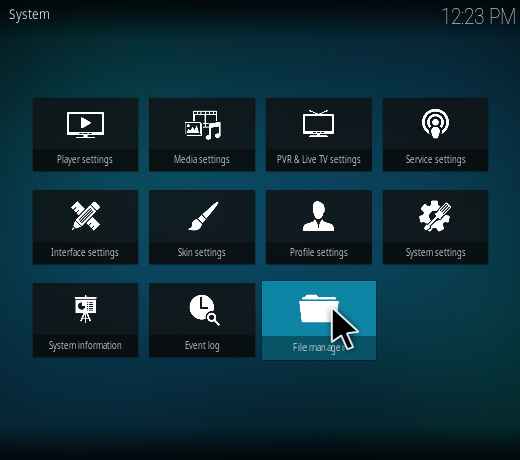 3. Now select the Add source from the File Manager.
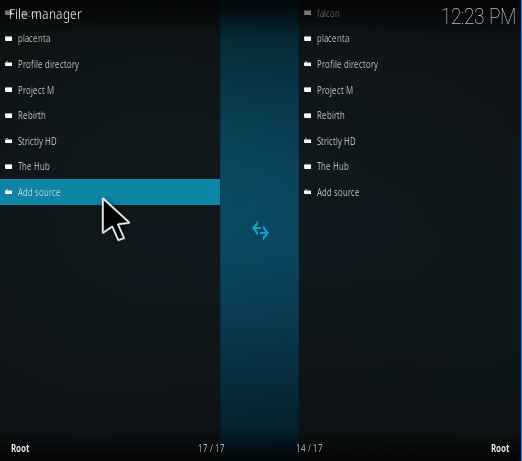 4. Here Add File source dialog box appears on the screen. In that, you can select the <None>.
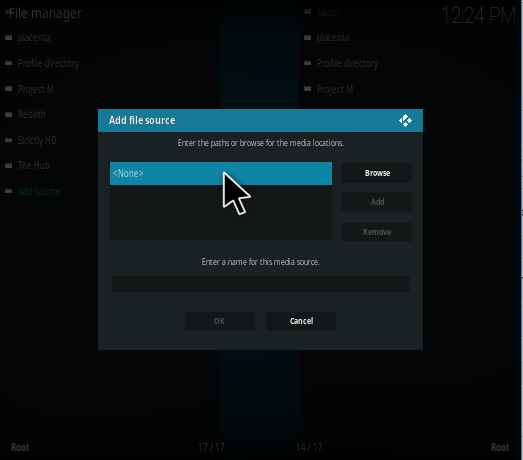 5. Now you can enter the path as “http://kdil.co/repo/”. Make sure that the entered URL is correct and then proceed Ok.
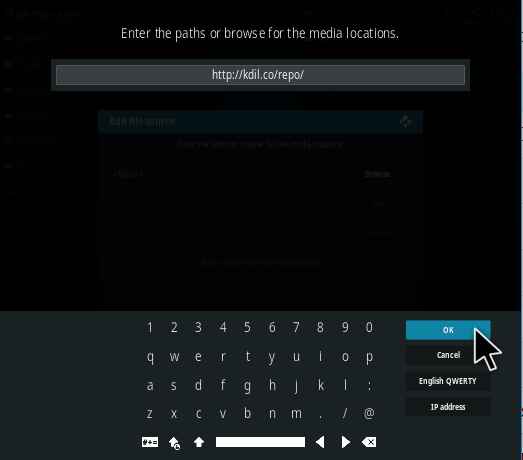 6. Here you can enter the suitable name for the media source. Now I enter the name as Kodil and proceed Ok.
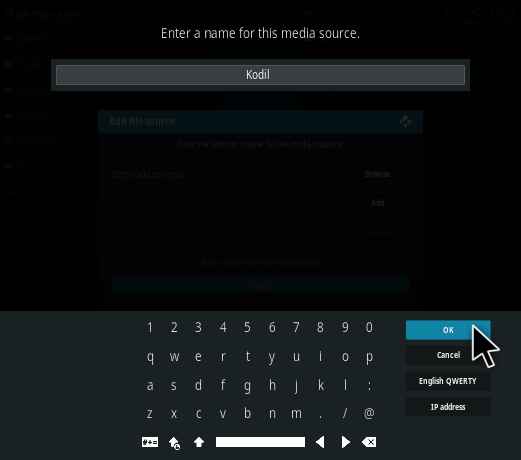 7. After completing the above process, navigate to the Kodi Homepage and select the Add-ons.
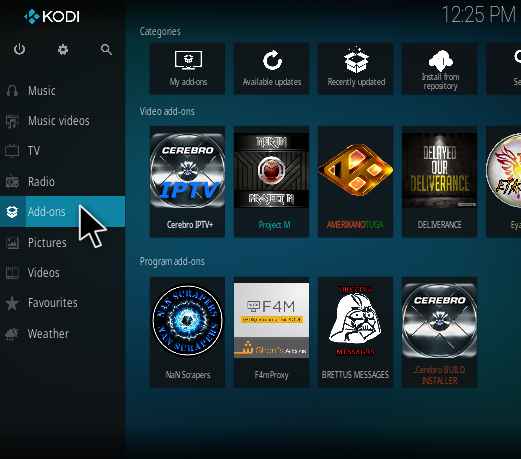 8. Here you can select the Package Installer icon which is present at the Top-left corner.
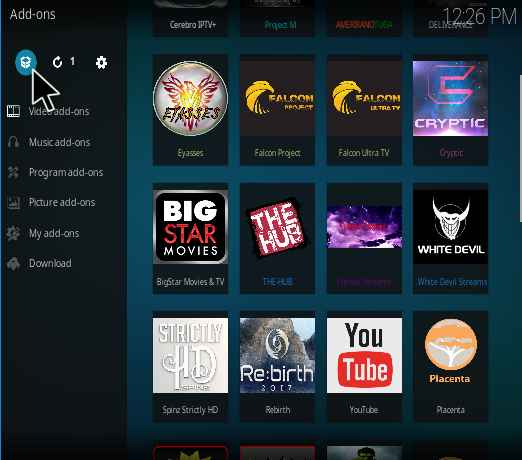 9. Now select the Install from zip file.
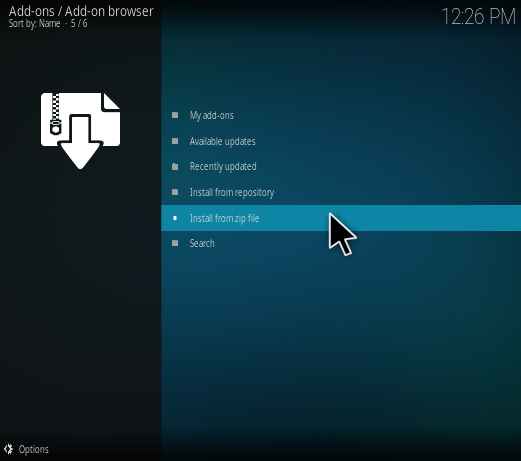 10. Here you can select the Kodil or the name you had given.
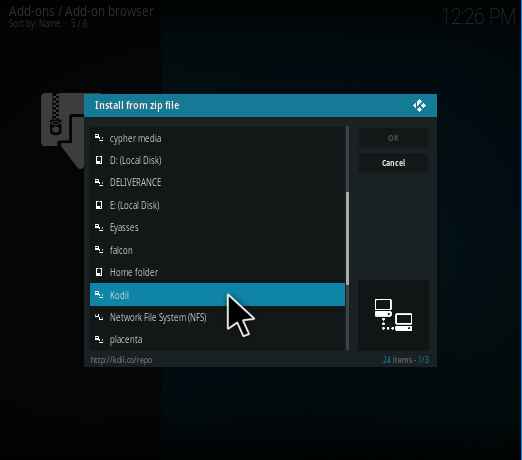 11. Now you have to select the zip file as “kodil.zip” and wait for few seconds to complete its installation process.
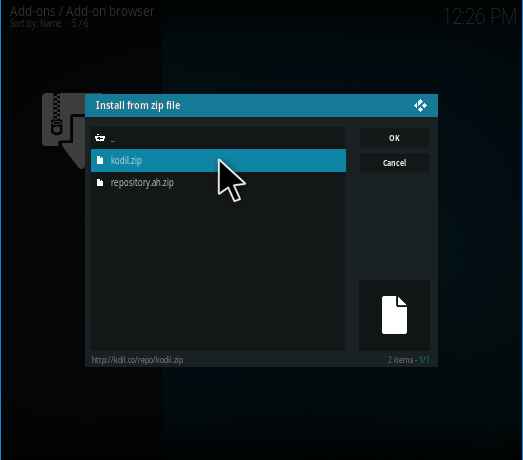 12. Now the repo is successfully installed.
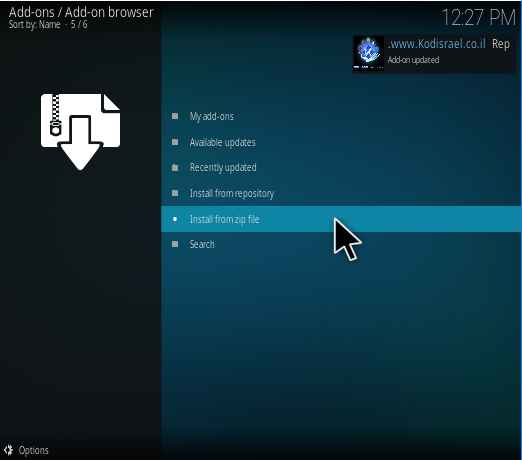 13. Now select the Install from repository.
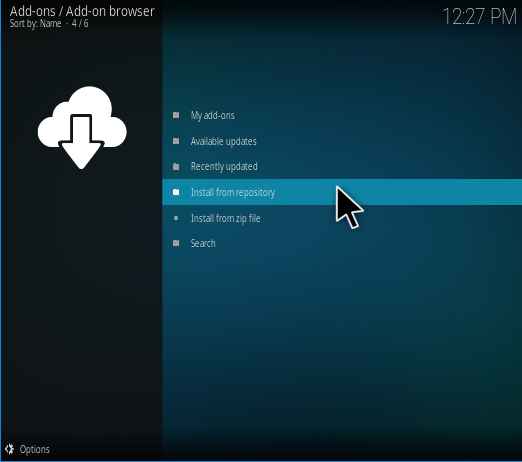 14. Here all the available repositories are listed. Now you can select the “www.Kodisrael.co.il Repository”.
 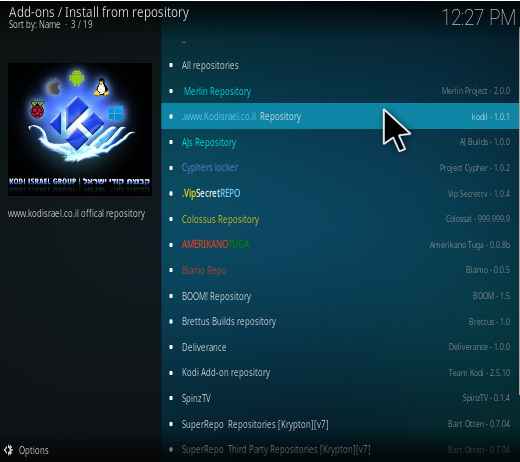 15. In that repository, you can select the Video Add-ons.
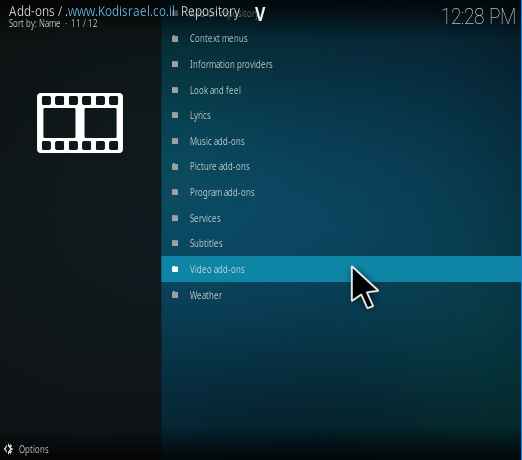 16. Here you can select the cCloud TV addon.
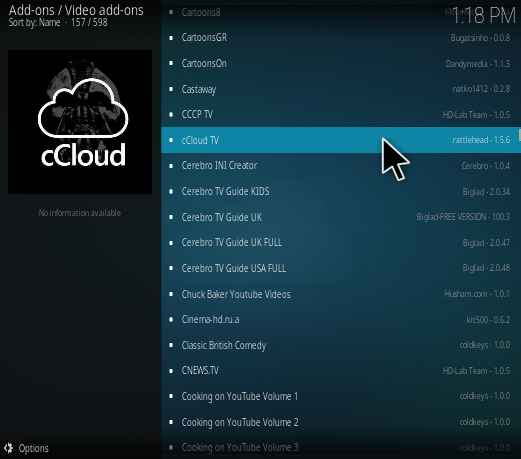 17. Click on the Install.
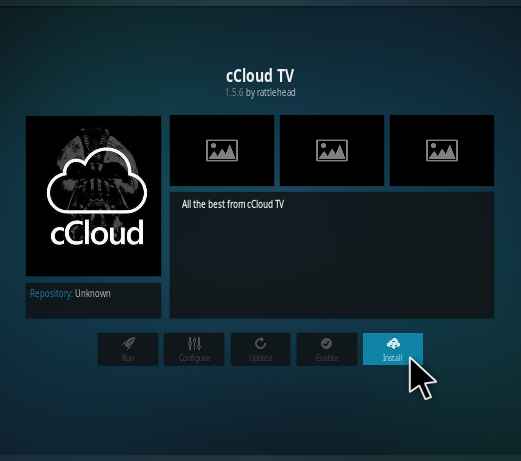 18. Here you can select the higher Version. Now I select Version 1.5.6(www.kodisrael.co.il Repository) and wait for few seconds while the installation process gets completed.
 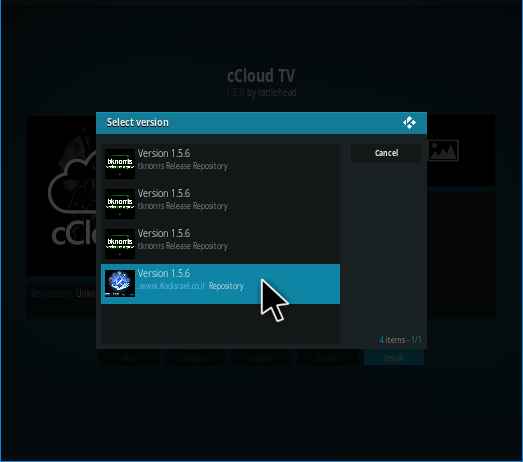 19. Now the cCloud TV addon is successfully installed and has been shown in the popup displayed on the screen.
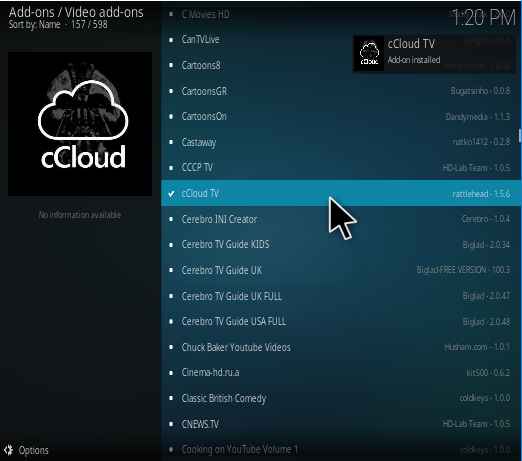 20. Click on the Open and enter into this addon.
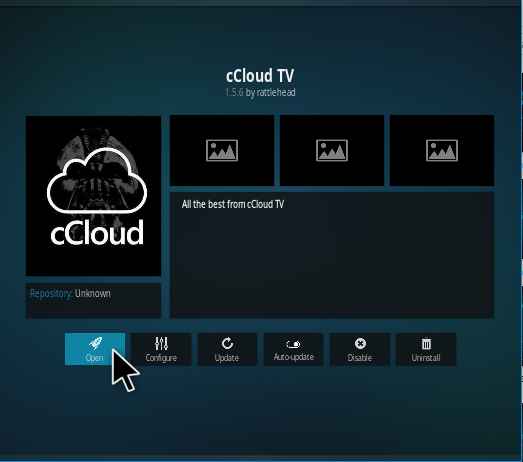
cCloud Kodi addon reviews:
cCloud Kodi addon is one of the best IPTV Kodi addons. It has some general categories like Movies, Music, All Channels, Sports, 24/7 channels etc. Some extra features can be included in this addon like Server Status, Search, Announcements and much more. Let us see one by one.
Movies:
This section includes the list of movies which can be categorized into countries like Spain, Italy, German and much more.
Sports:
It has a lot of sports channels including ESPN, Star sports, Sports Club and some more.
Lifestyle:
It is one of the new feature added in this addon which contains the information about the lifestyle of all the countries like France, Spain, German etc.
Server Status:
This is also one of the new feature added. In this, you can change the mode of the server which means online/offline.
Conclusion:
cCloud Kodi addon is the best IPTV with lots of additional features. Most of the Kodi user may already have this addon on their favorite list. So try this addon. If you face any issue during installation, do let us know via comments.

