
If you are facing Kodi buffering or if your kodi is running slow then you need to clear the zero cache. Do check this post fully to get a clear picture of what is zero cache and how to fix it.
Contents
WHAT IS ZERO CACHE?
In this tutorial, we are going to see how to clear kodi zero cache. It is nothing but clearing the cache completely so that nothing will be left out. That’s why it’s called kodi zero cache. This setting is accessible to those who install the Kodi Maintenance Tool addon. The advantage of Zero Cache is to redirect the video cache to your local storage with tons of storage on devices like Desktop, or Laptops only. Enabling Zero cache on kodi will free up space so that the user can download large space video files. Without Zero Cache the videos which you download on a RAM of your device will be dumped as it has only 60 mb by default. From your default RAM, a video cache files allocate a small amount of RAM.
VIDEO CACHE:
When it comes to Kodi, the video cache is the most common cache. If we don’t clear kodi cache, then you got a message like “Cache is full, empty your cache.” So this leads to little slowdowns or bumps in loading the video. The cache of video usually stored in RAM and deleted as needed.
HOW TO ENABLE KODI ZERO CACHE?
Here, we are going to discuss how to enable Zero Cache on Kodi by using simple steps. Follow the below steps carefully to clear your video cache. So, let’s talk about the instructions.
1. Open your Kodi from the device.
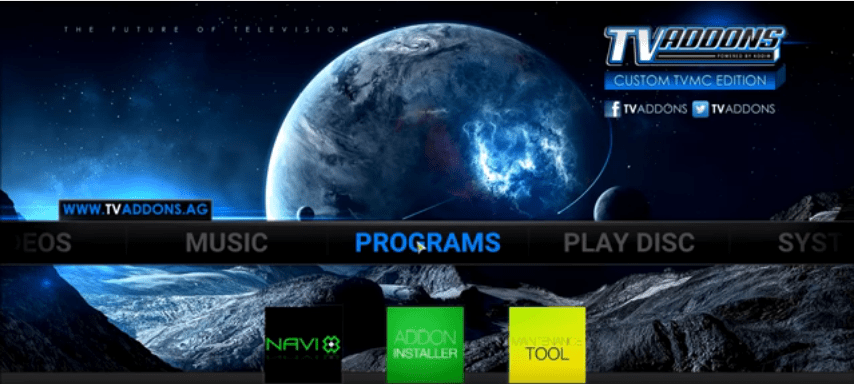
2. Then Select Programs from the main menu.
3. Now, move to Maintenance Tool and click on that addon.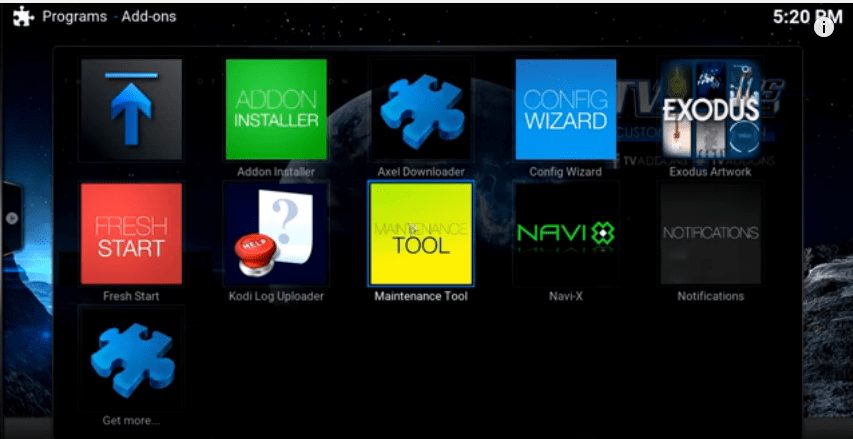
4. Then go to System Tweaks and select.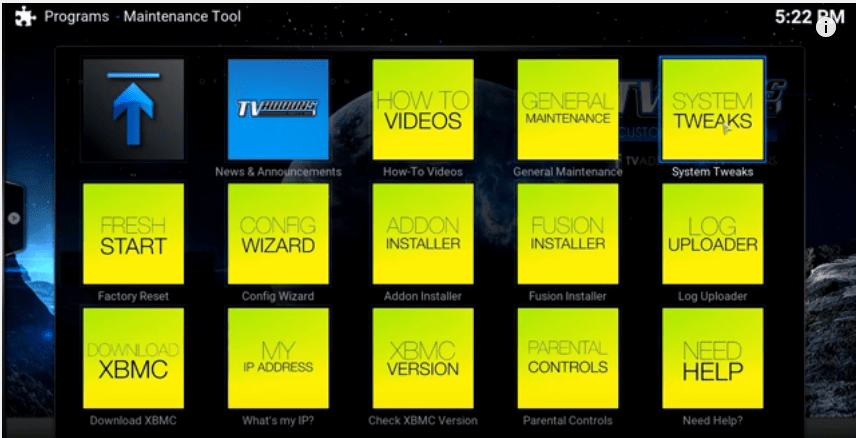
5. In that click on Zero Caching Settings to enable Kodi Zero Cache.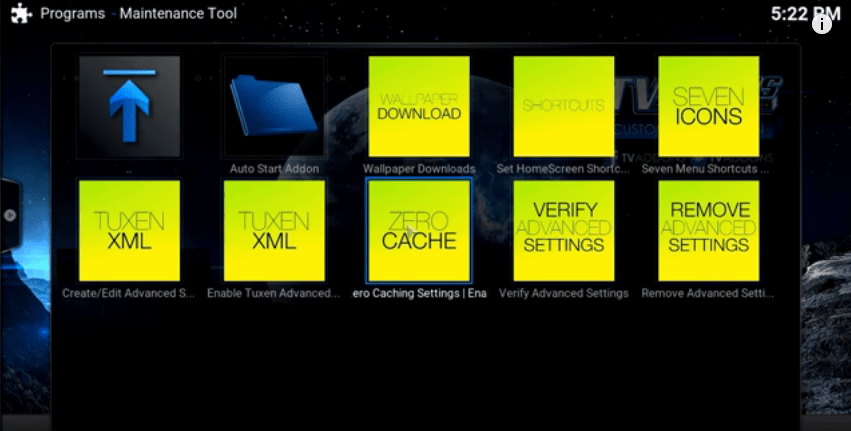
6. Now, you can see a small notification pop-up for the back-up then Click YES.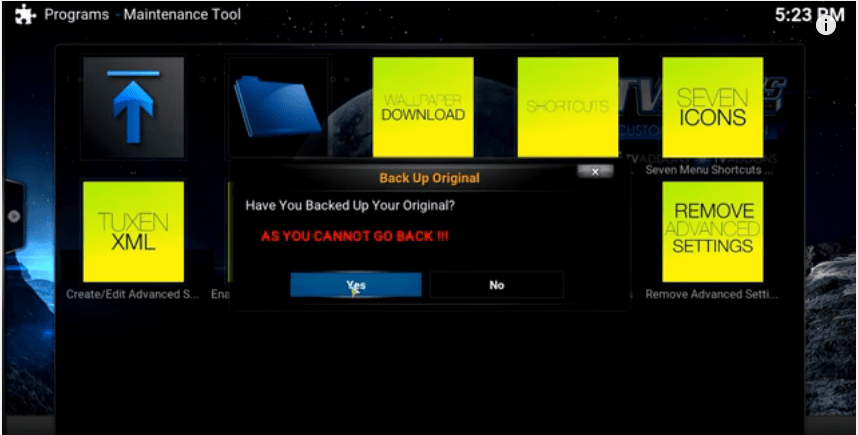
7. Now, select the next add-on called Verify Advanced Settings. 
8.This add-on also shows some pop-up of Maintenance Tool and Click OK.
These are the step by step explanation to enable Kodi Zero Cache. So, follow the above steps clearly to clear the cache on your own.
HOW TO CLEAR CACHE AUTOMATICALLY?
Here, we are going to discuss how to clear the cache automatically in Kodi using simple steps. The instructions given below to clear cache is standard for all versions of Kodi. So, follow the steps to clear the cache automatically.
- First, open your Kodi application from your device.
- Select Addon from the Home Screen of the Kodi.
- Now, select Program Add-On from the list of add-on categories.
- Then click on Maintenance Tool. A small pop-up box will appear showing “This tool is intended for advanced users only.” Click OK.
- Then another community notification box appears next and Click OK.
- In that Click On General Maintenance.
- Click Clear Cache.
- Then it asks permission to delete the cache then click YES. Now your cache is cleared completely.
Now your Cache is cleared successfully, and enjoy pause-free video playback from now onwards. So, study the procedures clearly and solve your problem completely.
If you have any issues with kodi zero cache, then kindly do let us know via comment.